How to Create and Manage an Avail Account
Introduction
This guide will walk you through two different ways of creating an account on Avail, while also providing insights into the account specifications and formats.
Seed Phrases
Before creating an account, it's essential to understand seed phrases (opens in a new tab). During the account creation process, you'll receive a seed phrase—a series of words that can be used to recover your account.
SEED PHRASE SECURITY
NEVER EVER share your seed phrase with anyone and keep it in a secure location. Anyone with access to your seed phrase can gain control of your account.
Creating an Account on Avail DA
In this guide, we will walk you through two different ways of creating an account on Avail DA.
-
Using a compatible wallet: You can create an account by using wallets like SubWallet (opens in a new tab), Talisman (opens in a new tab), PolkadotJS (opens in a new tab), Nova Wallet (opens in a new tab) and others. This guide will be using Subwallet as an example.
-
Using the Explorer: Advanced users can also create an account straight from the explorer.
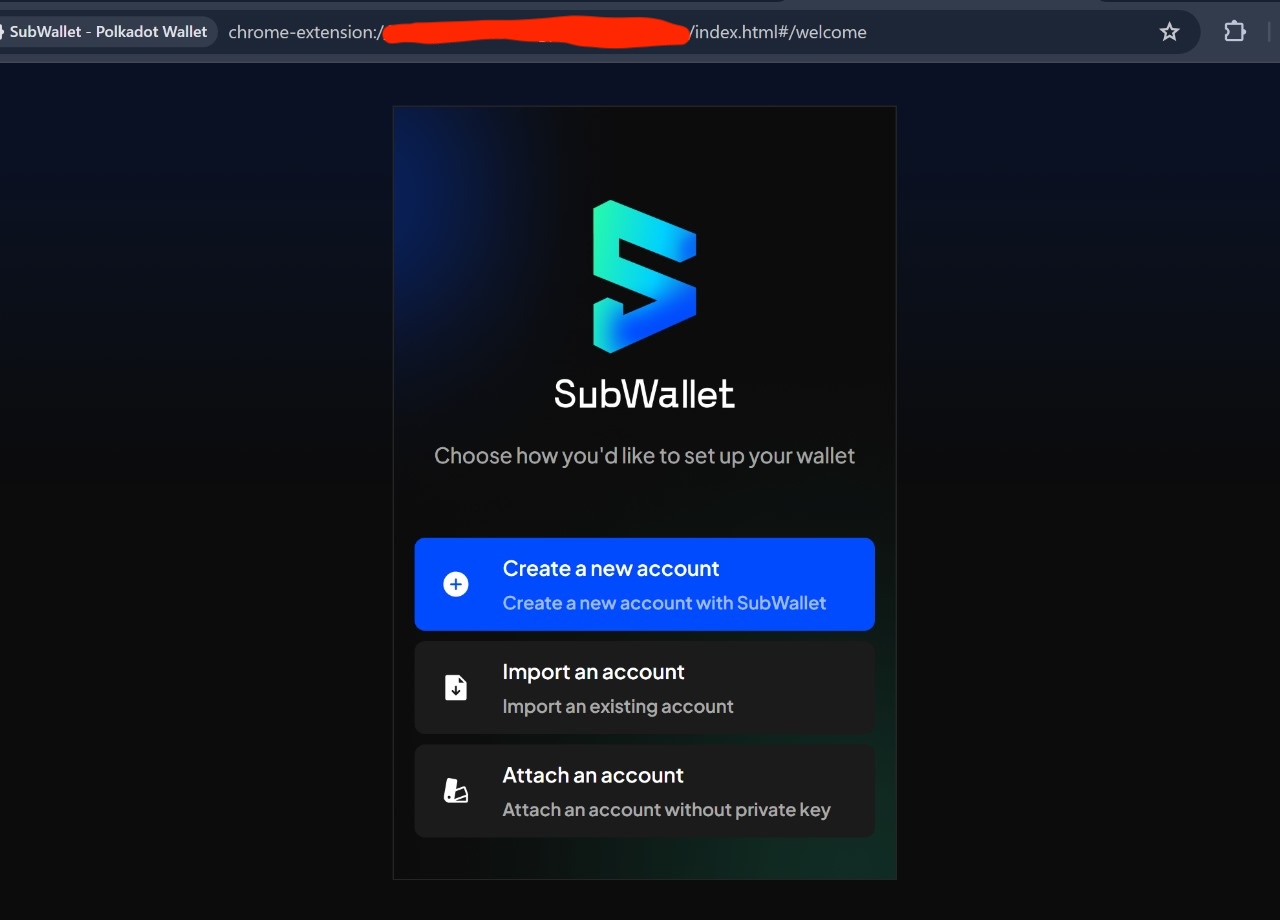
- Go to Subwallet.app (opens in a new tab) and install their browser extension. Once installed, you should se a few different options to get started. We will create an account from scratch, although you can import existing accounts too.
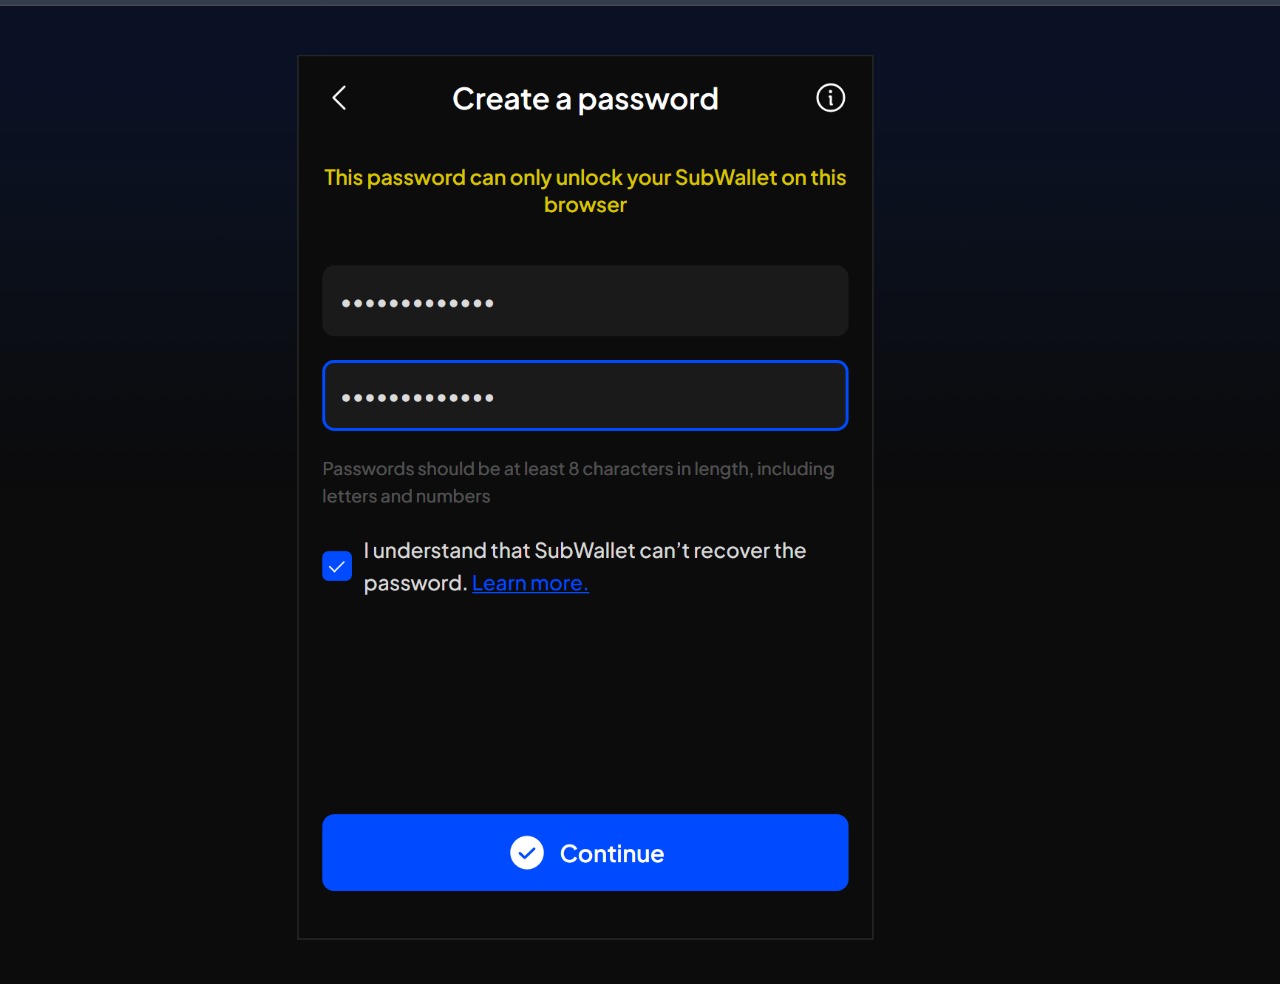
- Subwallet will prompt you to set up a password to secure access to the accounts in the wallet. Please note that this password DOES NOT control the actual on-chain account, and is merely used to open the wallet extension.
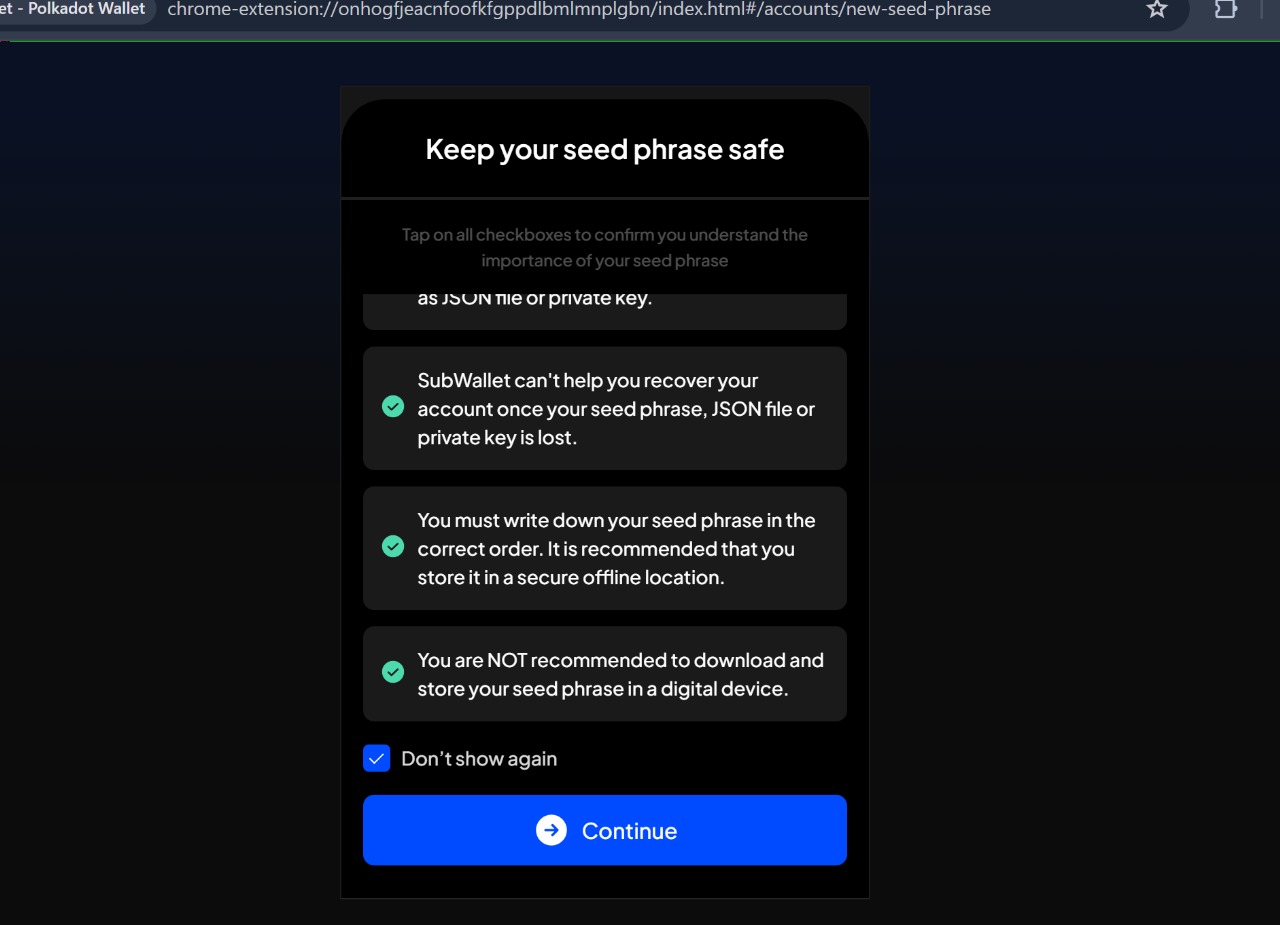
- Next, read through and agree with all of Subwallet's conditions to get the Seed Phrase of tour Avail account.
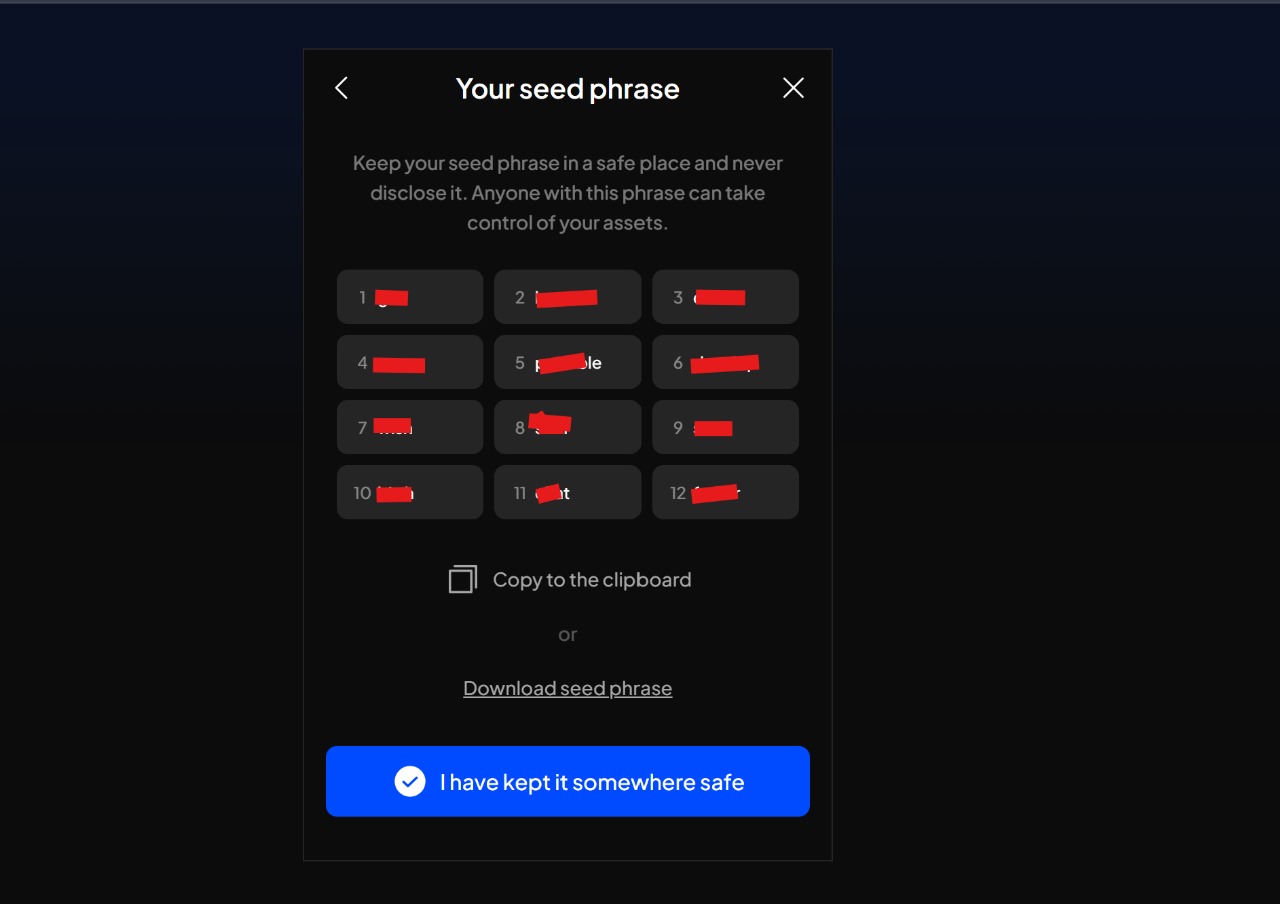
- You will be shown your seed phrase. Make sure to write it down and store it in a safe place.
Please note that this seed phrase is exposed only one time at the time of account creation by Subwallet. Make sure to store it in a safe place as it is the only way to recover your account.
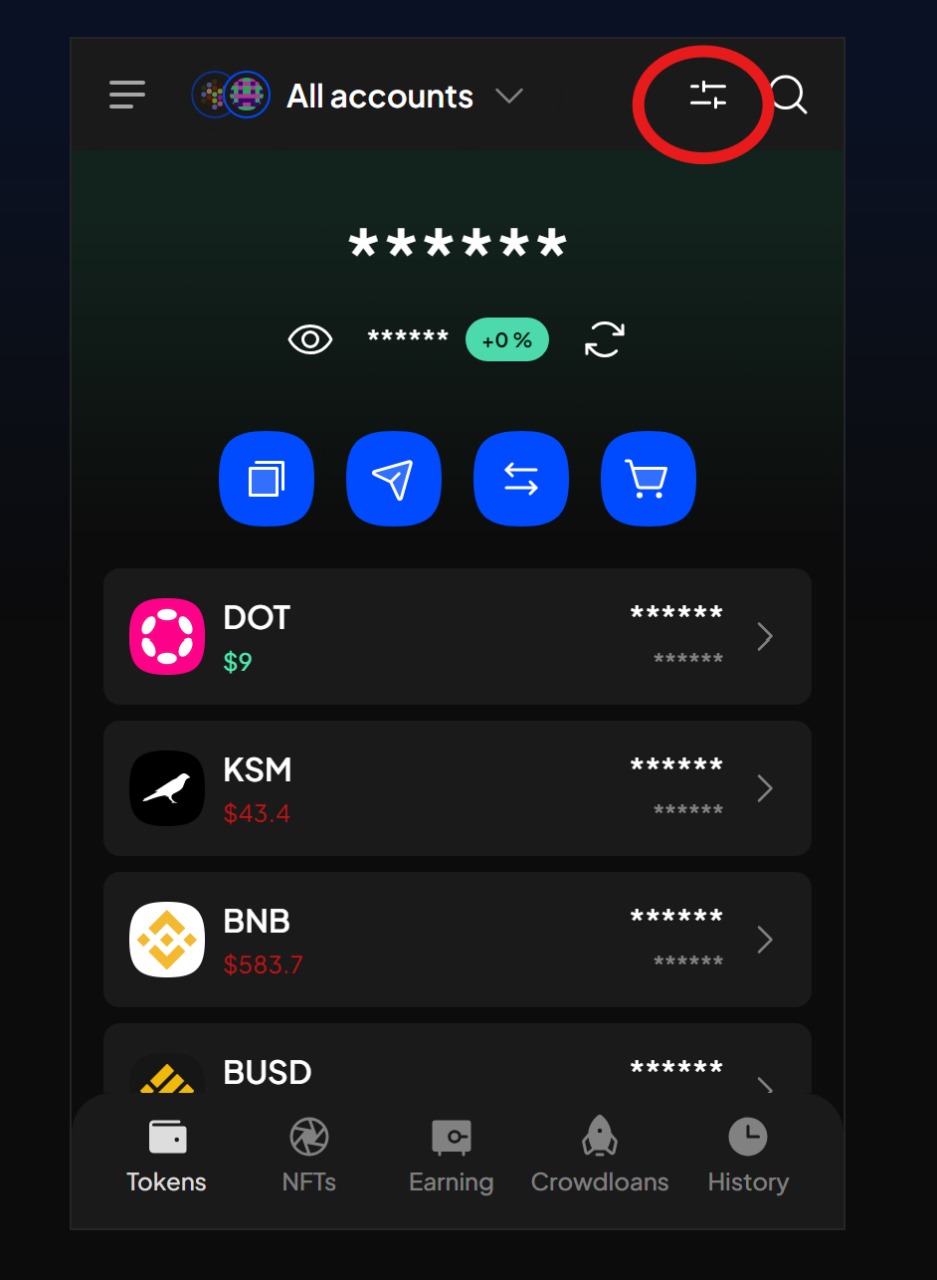
- Open the
networksmenu from the top-right. You can configure which networks you want displayed by Subwallet from here.
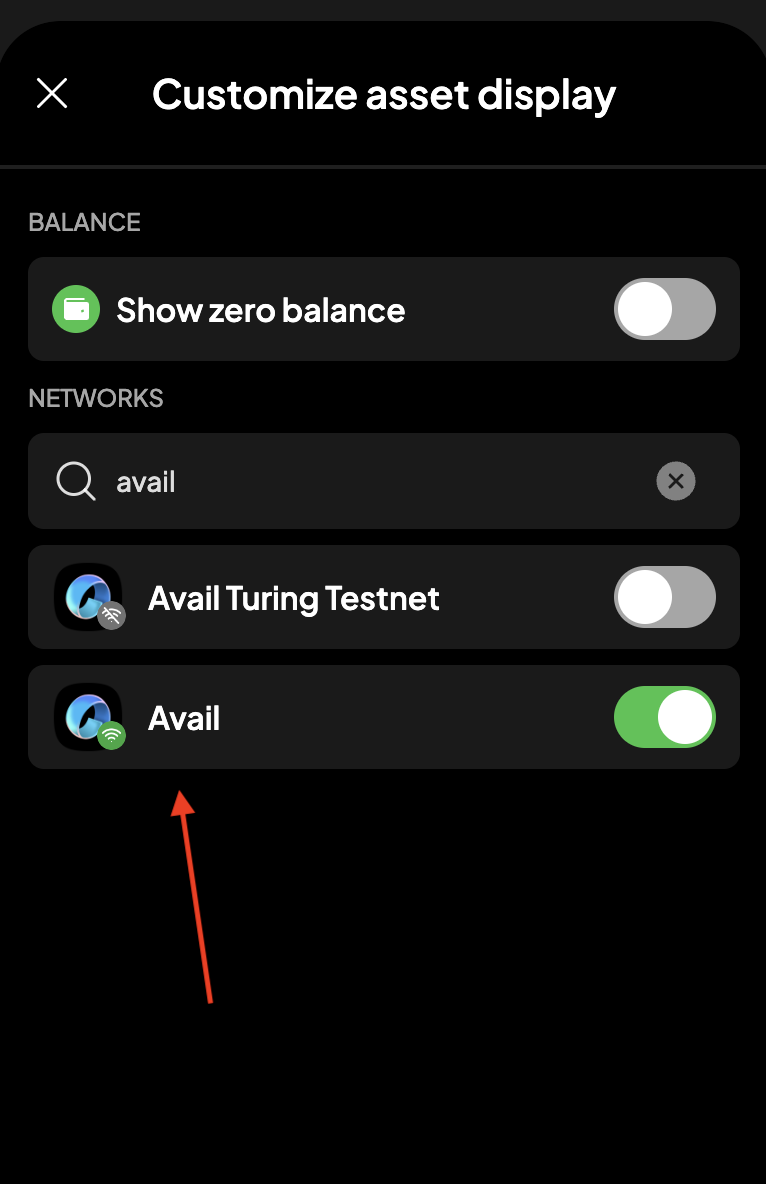
- Search for Avail testnets either by name or by token symbol. Make sure the network is toggled on.
Please nnote Avail is short-hand for Avail DA mainnet, while the other option connects you to the Turing testnet.
You can choose if you want to connect to one or both of them.
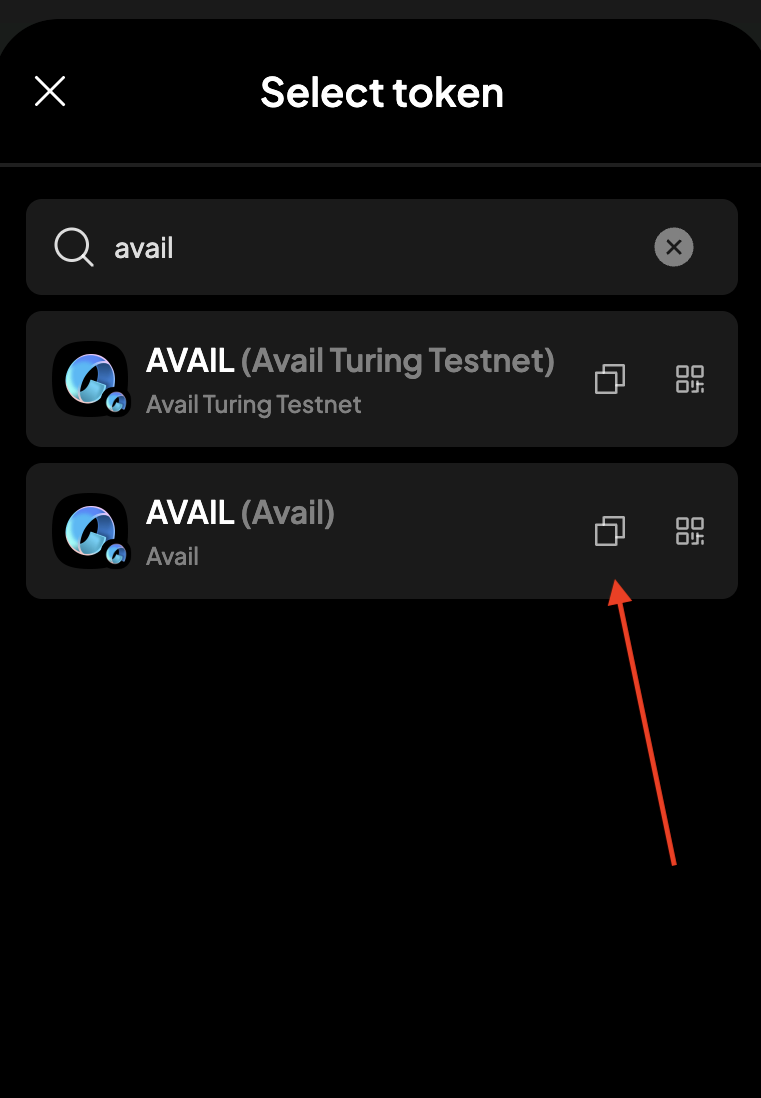
- Next go to your extension's homepage and click on the
Get addressbutton. Again, search for Avail testnets by name or token symbol, and click on thecopy addressbutton.
Please note that Avail DA is a modular blockchain built on top of the Substrate framework. due to how Substrate works,
the exact on-chain address of your account may vary from one chain to another.
Make sure to always double-check the address you are using. Avail addresses, for example will always begin with the number 5.
UPDATE METADATA
Sometimes when the chain undergoes upgrades, the underlying metadata within your wallets/extensions may become outdated.
Not updating them might result in transaction signatures failing.
You can update your metedata, if needed, using the AvailApps explorer (opens in a new tab).
Next Steps
Congratulations on successfully creating and managing your Avail account! Remember to always safeguard your account details, JSON file, and seed phrase to ensure the security of your assets.
Ready to explore further? Navigate to the next guide to learn how to use the Avail Explorer and get hands-on experience with the network.