How to use a ledger wallet on Avail DA
Avail DA is a modular blockchain built for the next generation of rollups by being an effective and efficient solution for the data availability problem .
The AVAIL token is the native token of the Avail DA, used to perform basic transactions, as well as to submit data. It therefore becomes crucial to store your AVAIL tokens securely, especially for wallets with large amounts of them.
This guide will take you through verifying, rejecting, and approving a transaction on Avail DA using a Ledger wallet.
Prerequisites
- A ledger device. Refer to ledger’s official website for the same.
- The Avail app for ledger should be installed on your ledger device. You can do so by downloading the ledger live app on your computer or mobile and use it to install the Avail app on your ledger.
If you’re using a new ledger device, it is highly recommended to ensure it’s firmware is up to date before anything else. You can update it’s firmware using the ledger live app.
Set up your Ledger from scratch
Video guide
If Youtube is more your style, you can watch the video guide below:
Install the Avail app on your ledger device
- Open the Ledger live app and naviagte to the ‘My Ledger’ tab from the sidebar.
- Search for the
Availapp inside the app catalog, and install it on your device.
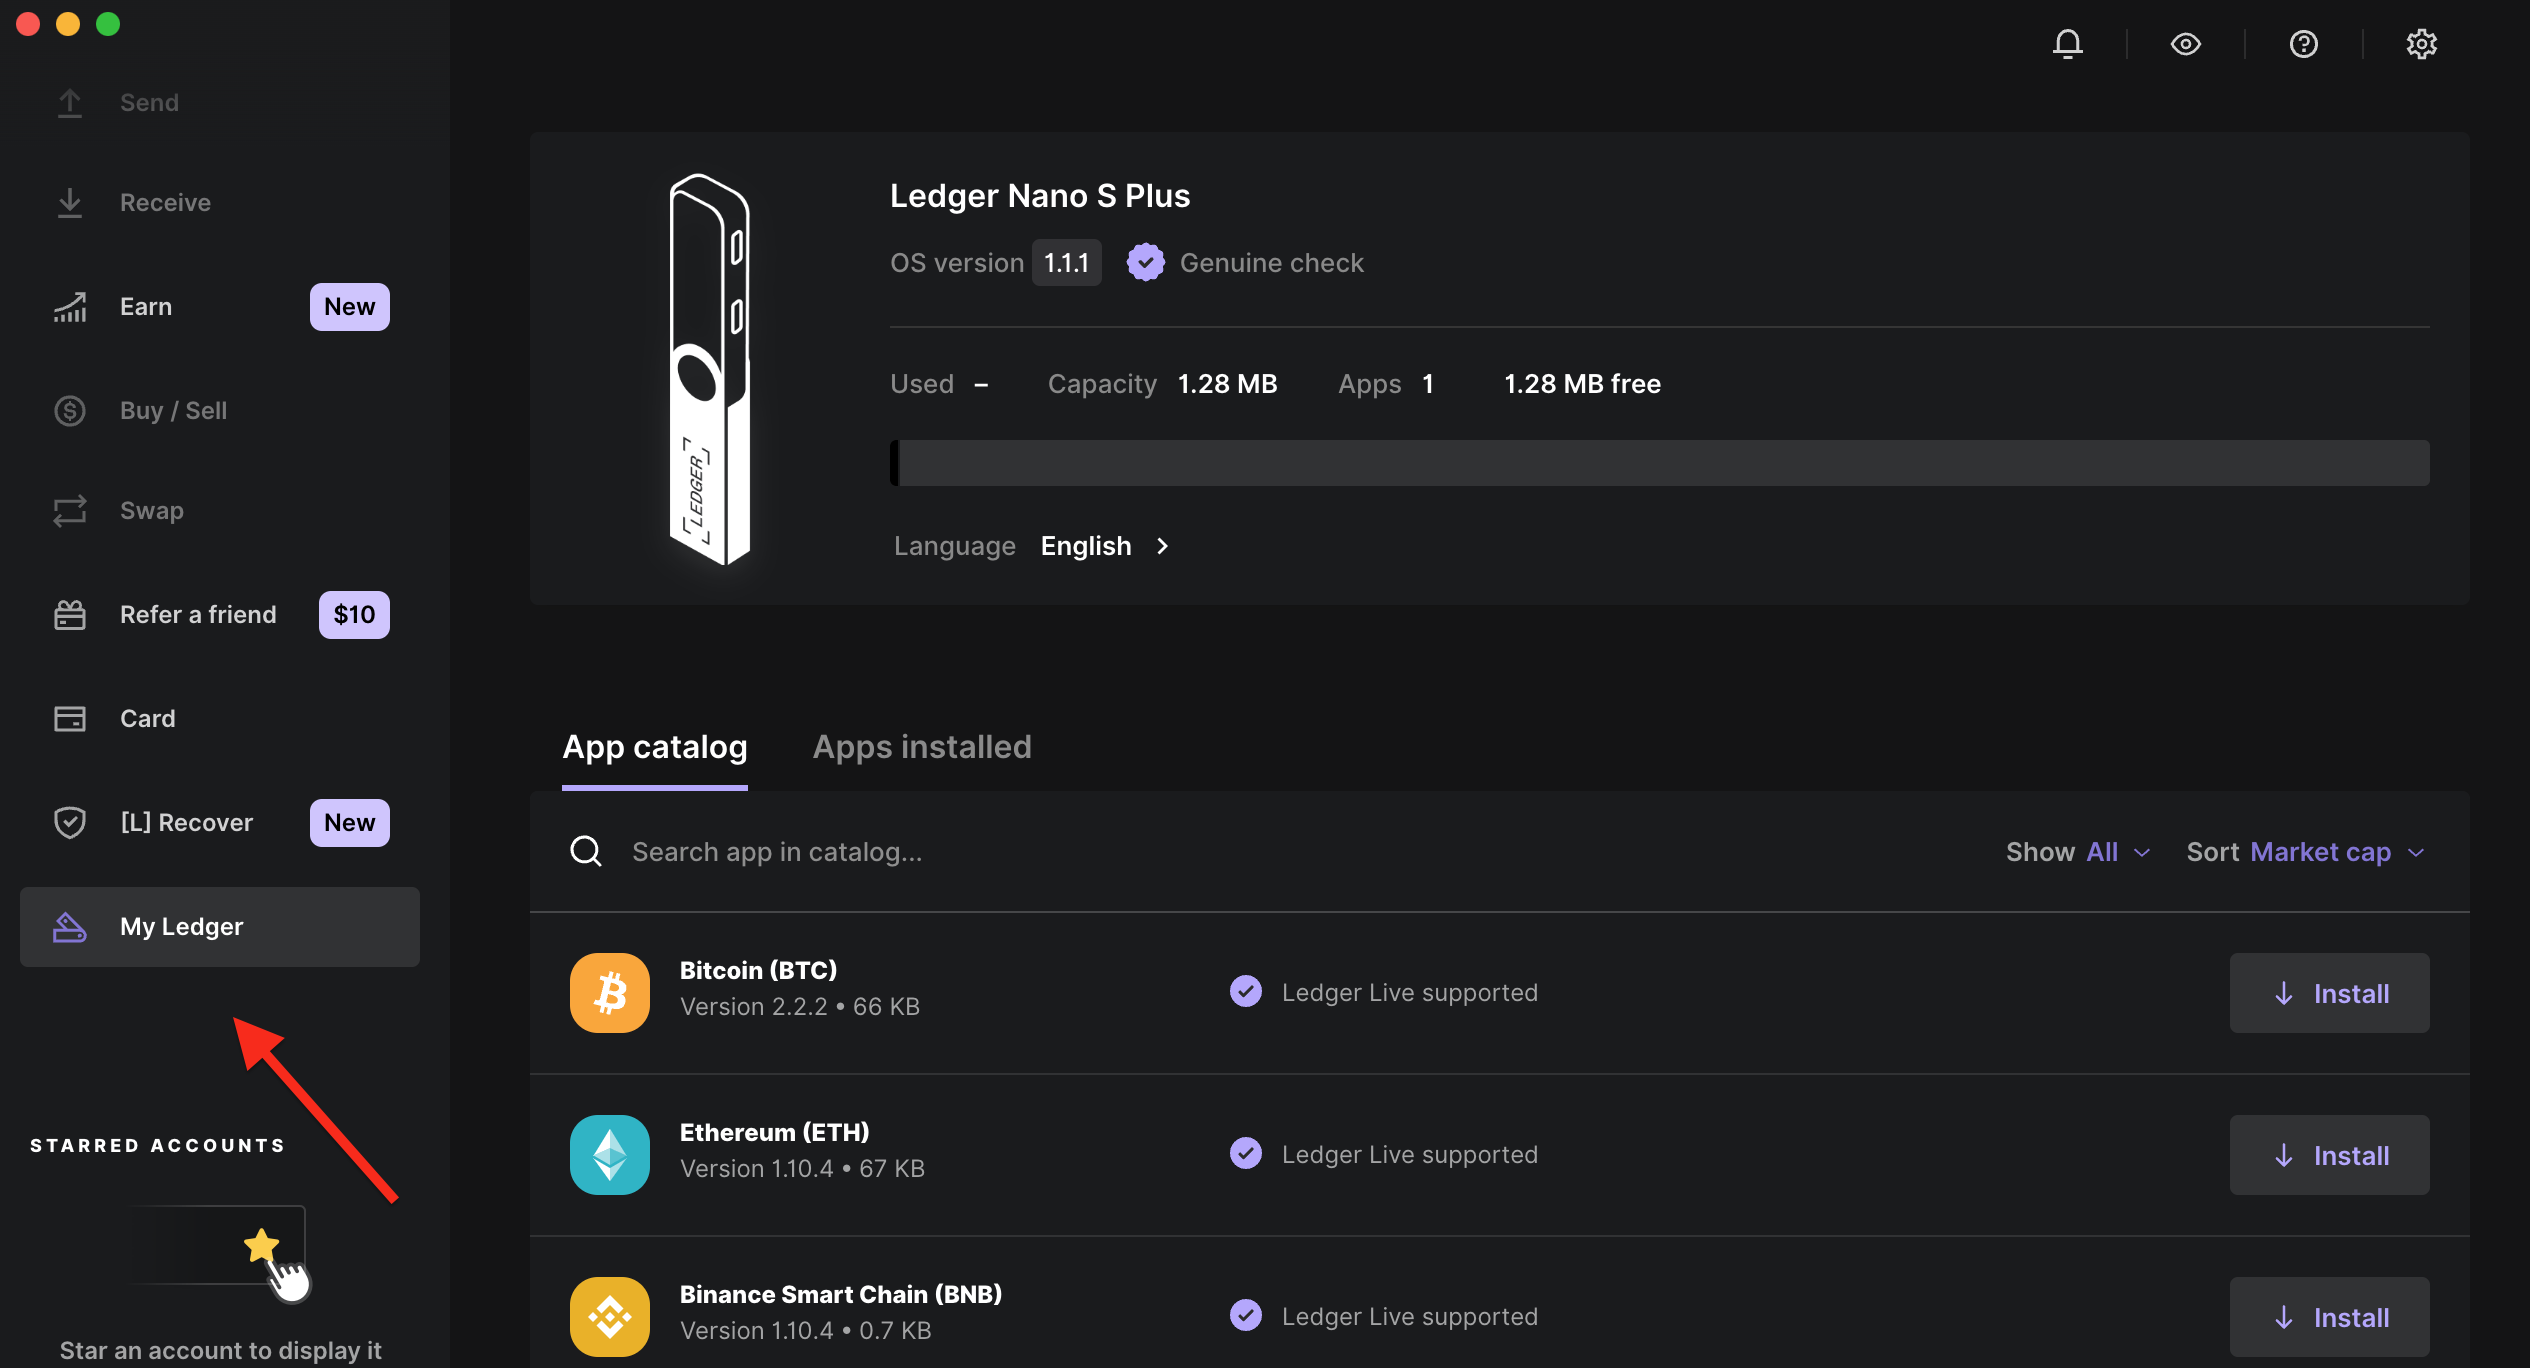
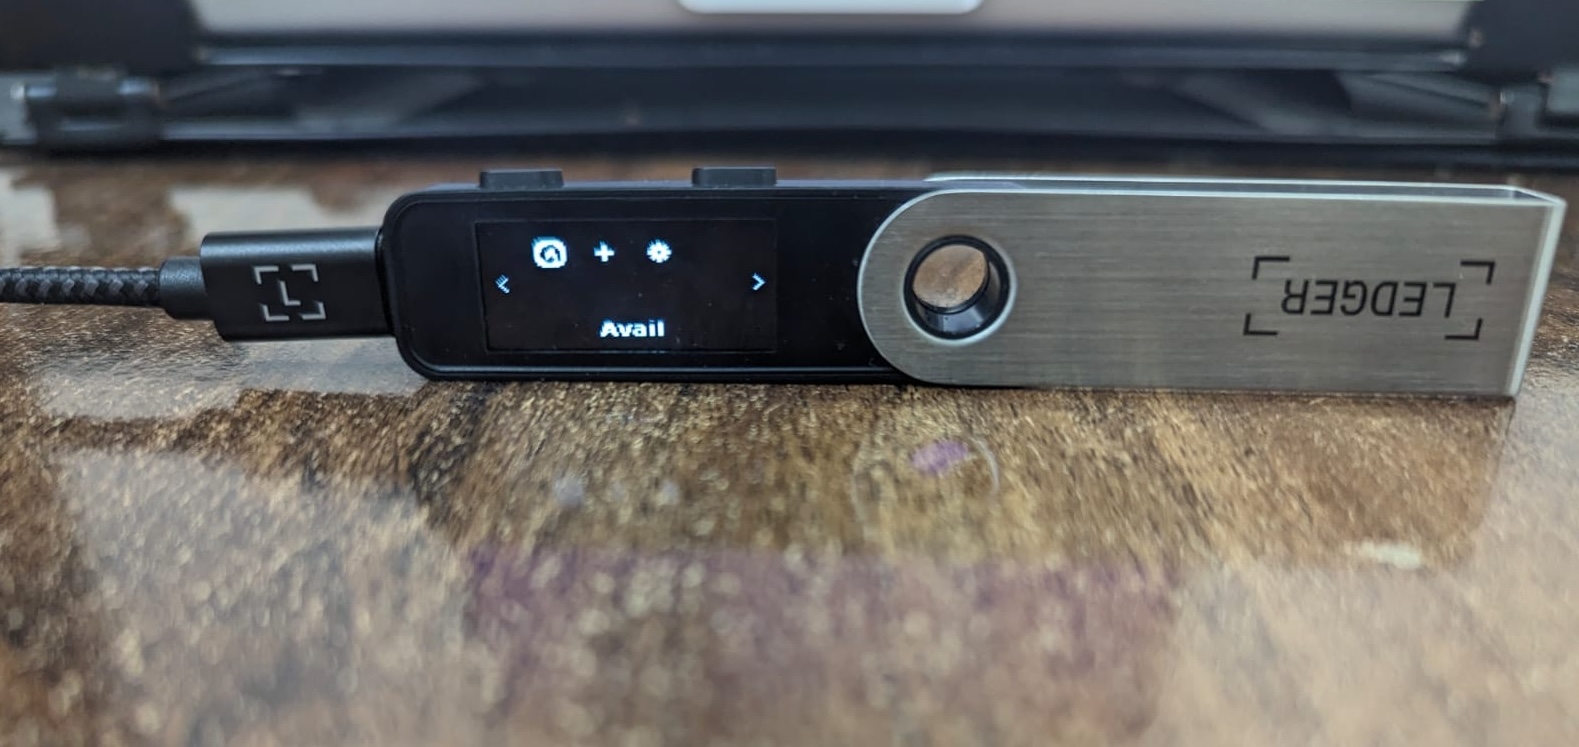
- Once installed, this is what your ledger device’s homepage should look like:
Open the Avail app on your ledger device
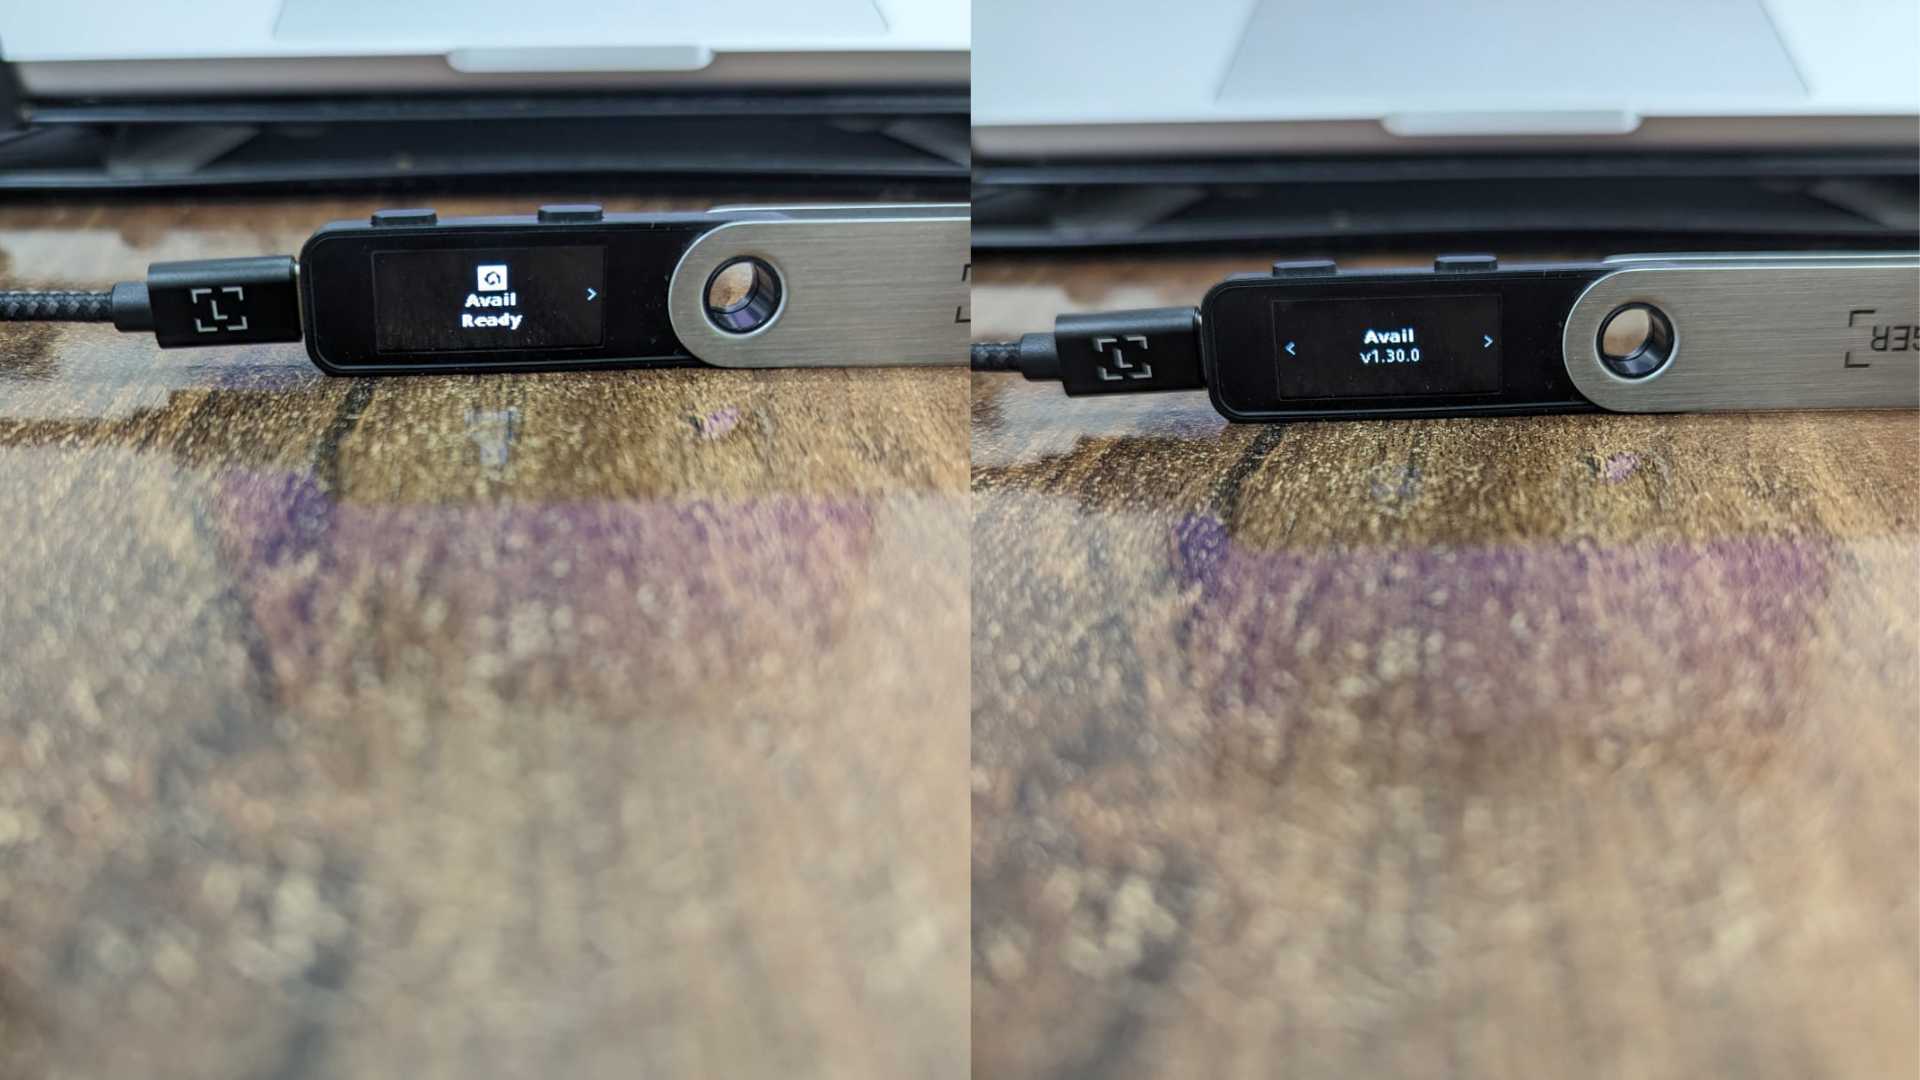
Please note that you will need to have the Avail app open on your ledger device to interact with Avail DA in any capacity.
This is what your ledger device should display when the Avail app is opened:
Derive an Avail DA account online using your ledger device
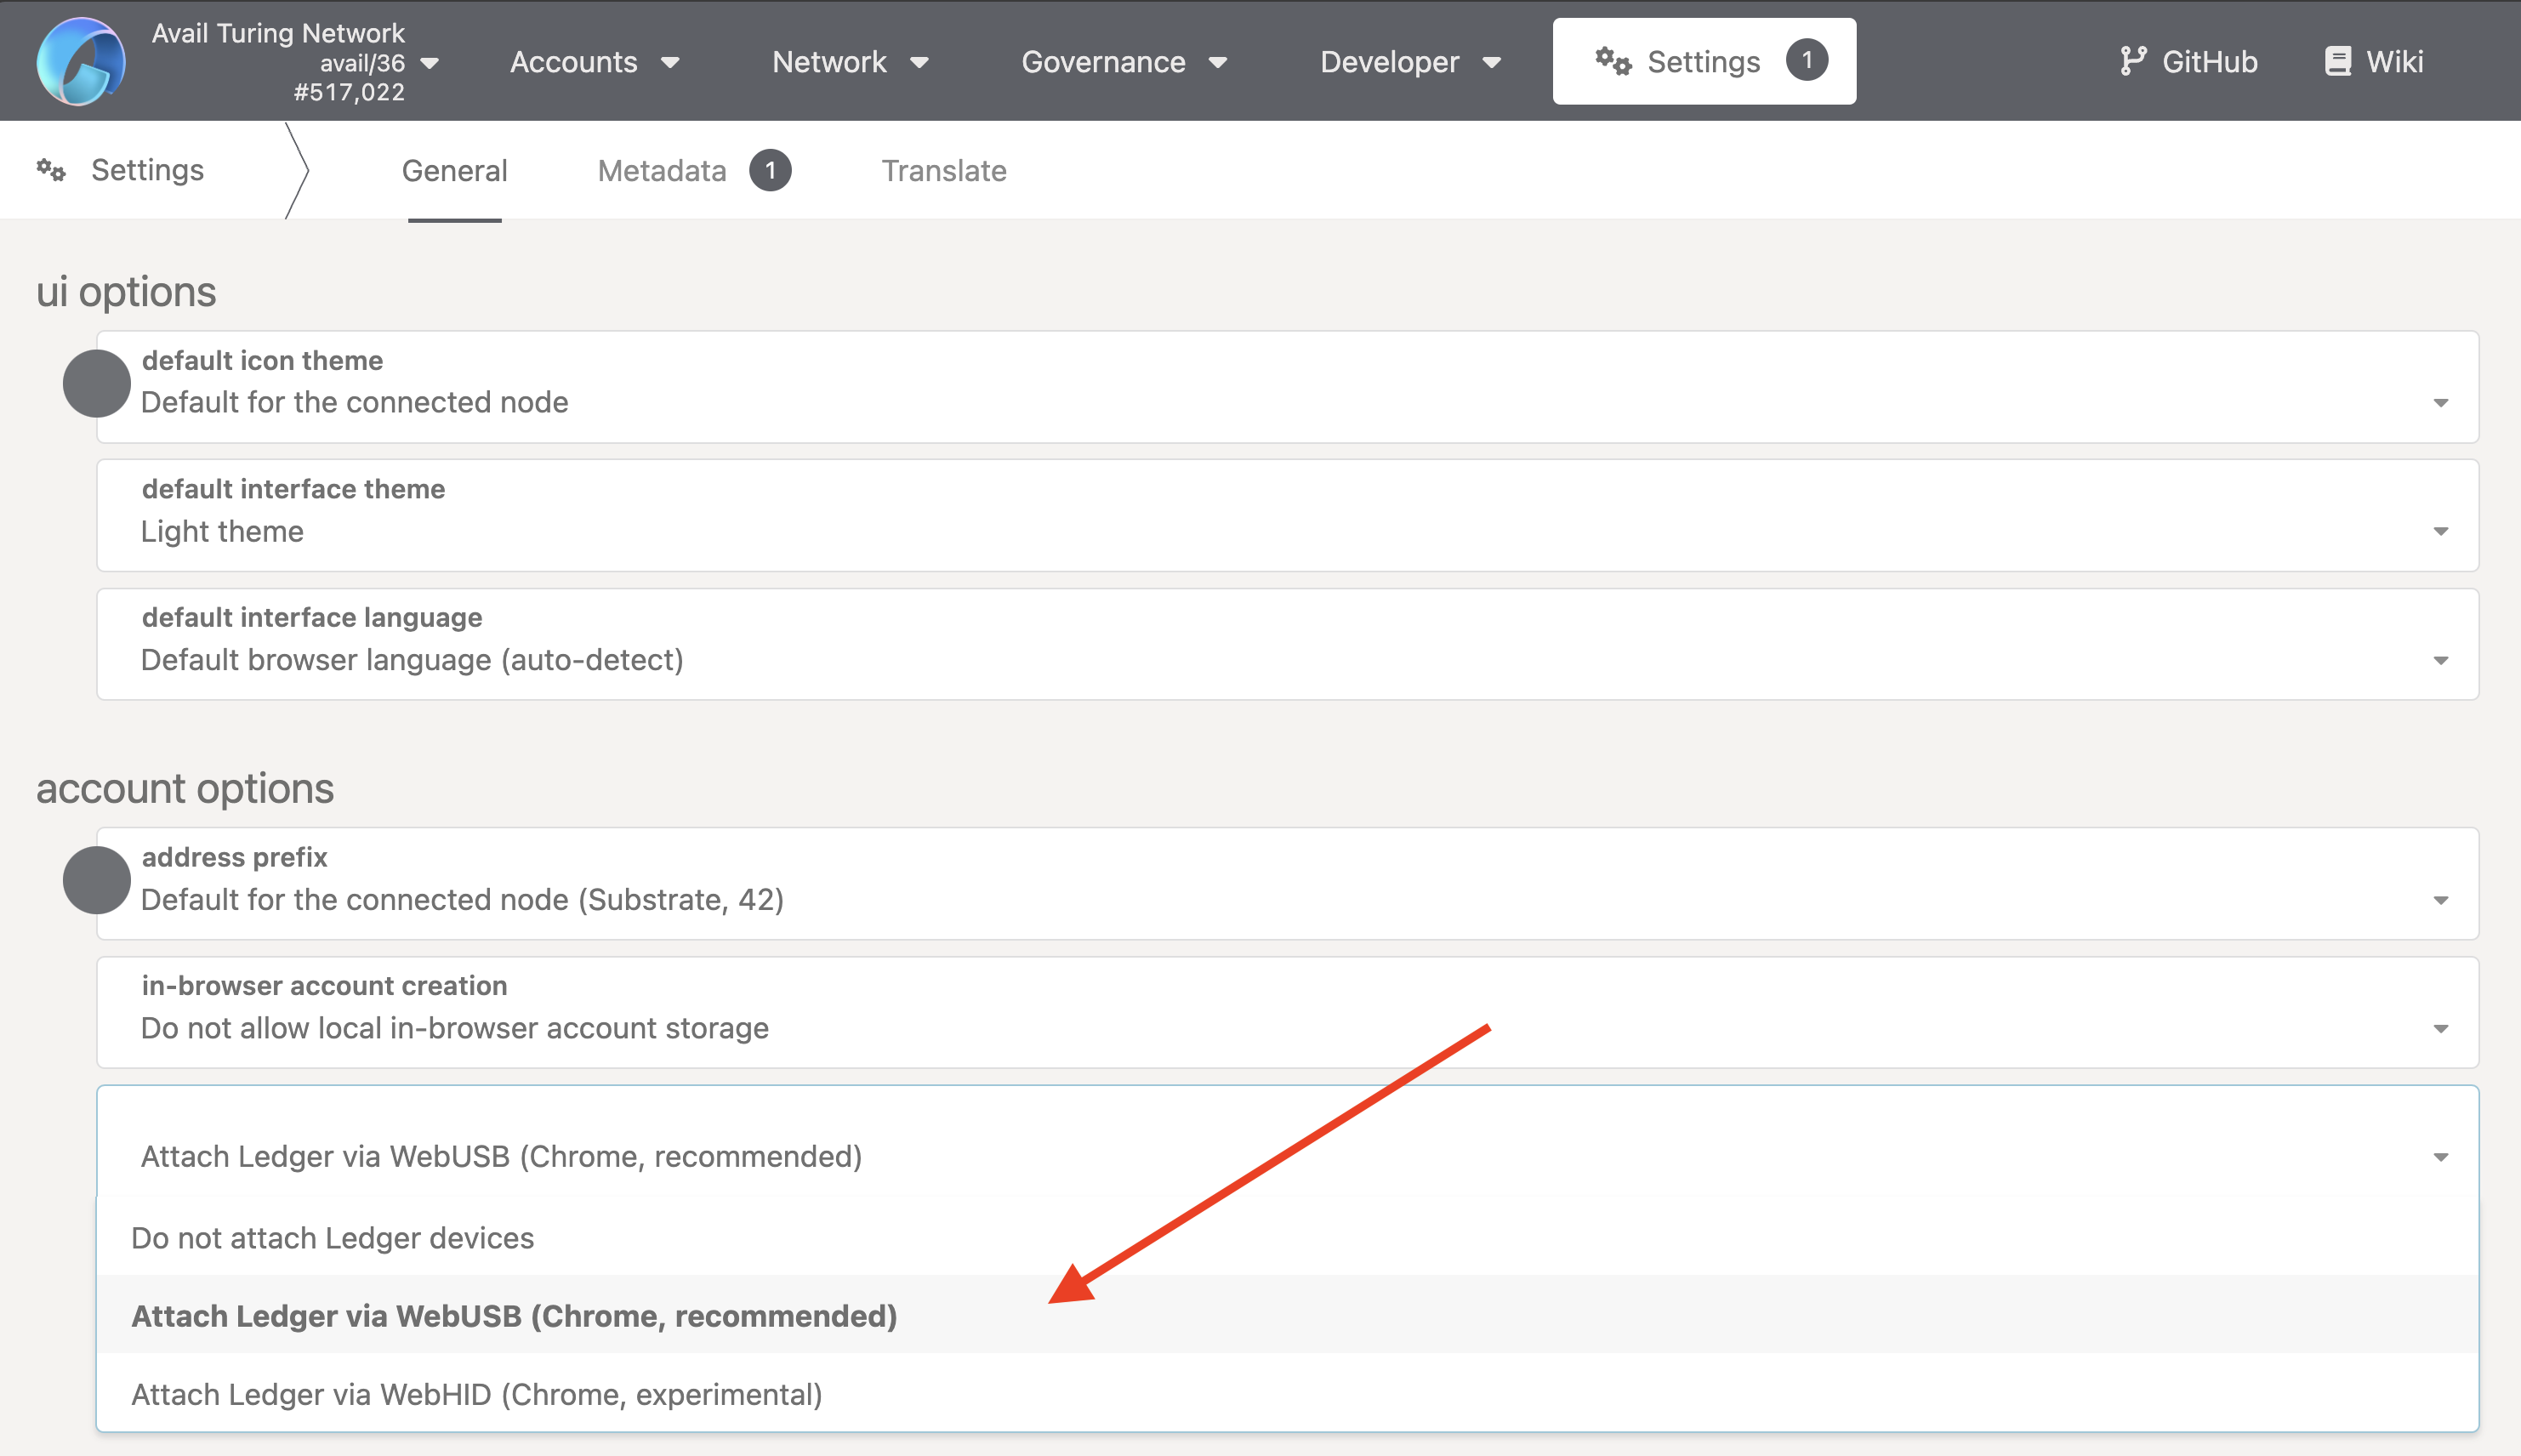
- Go to the settings tab of the Avail apps explorer .
- Click on
manage hardware connectionsand selectAttach Ledger via WebUSB, then save the changes.
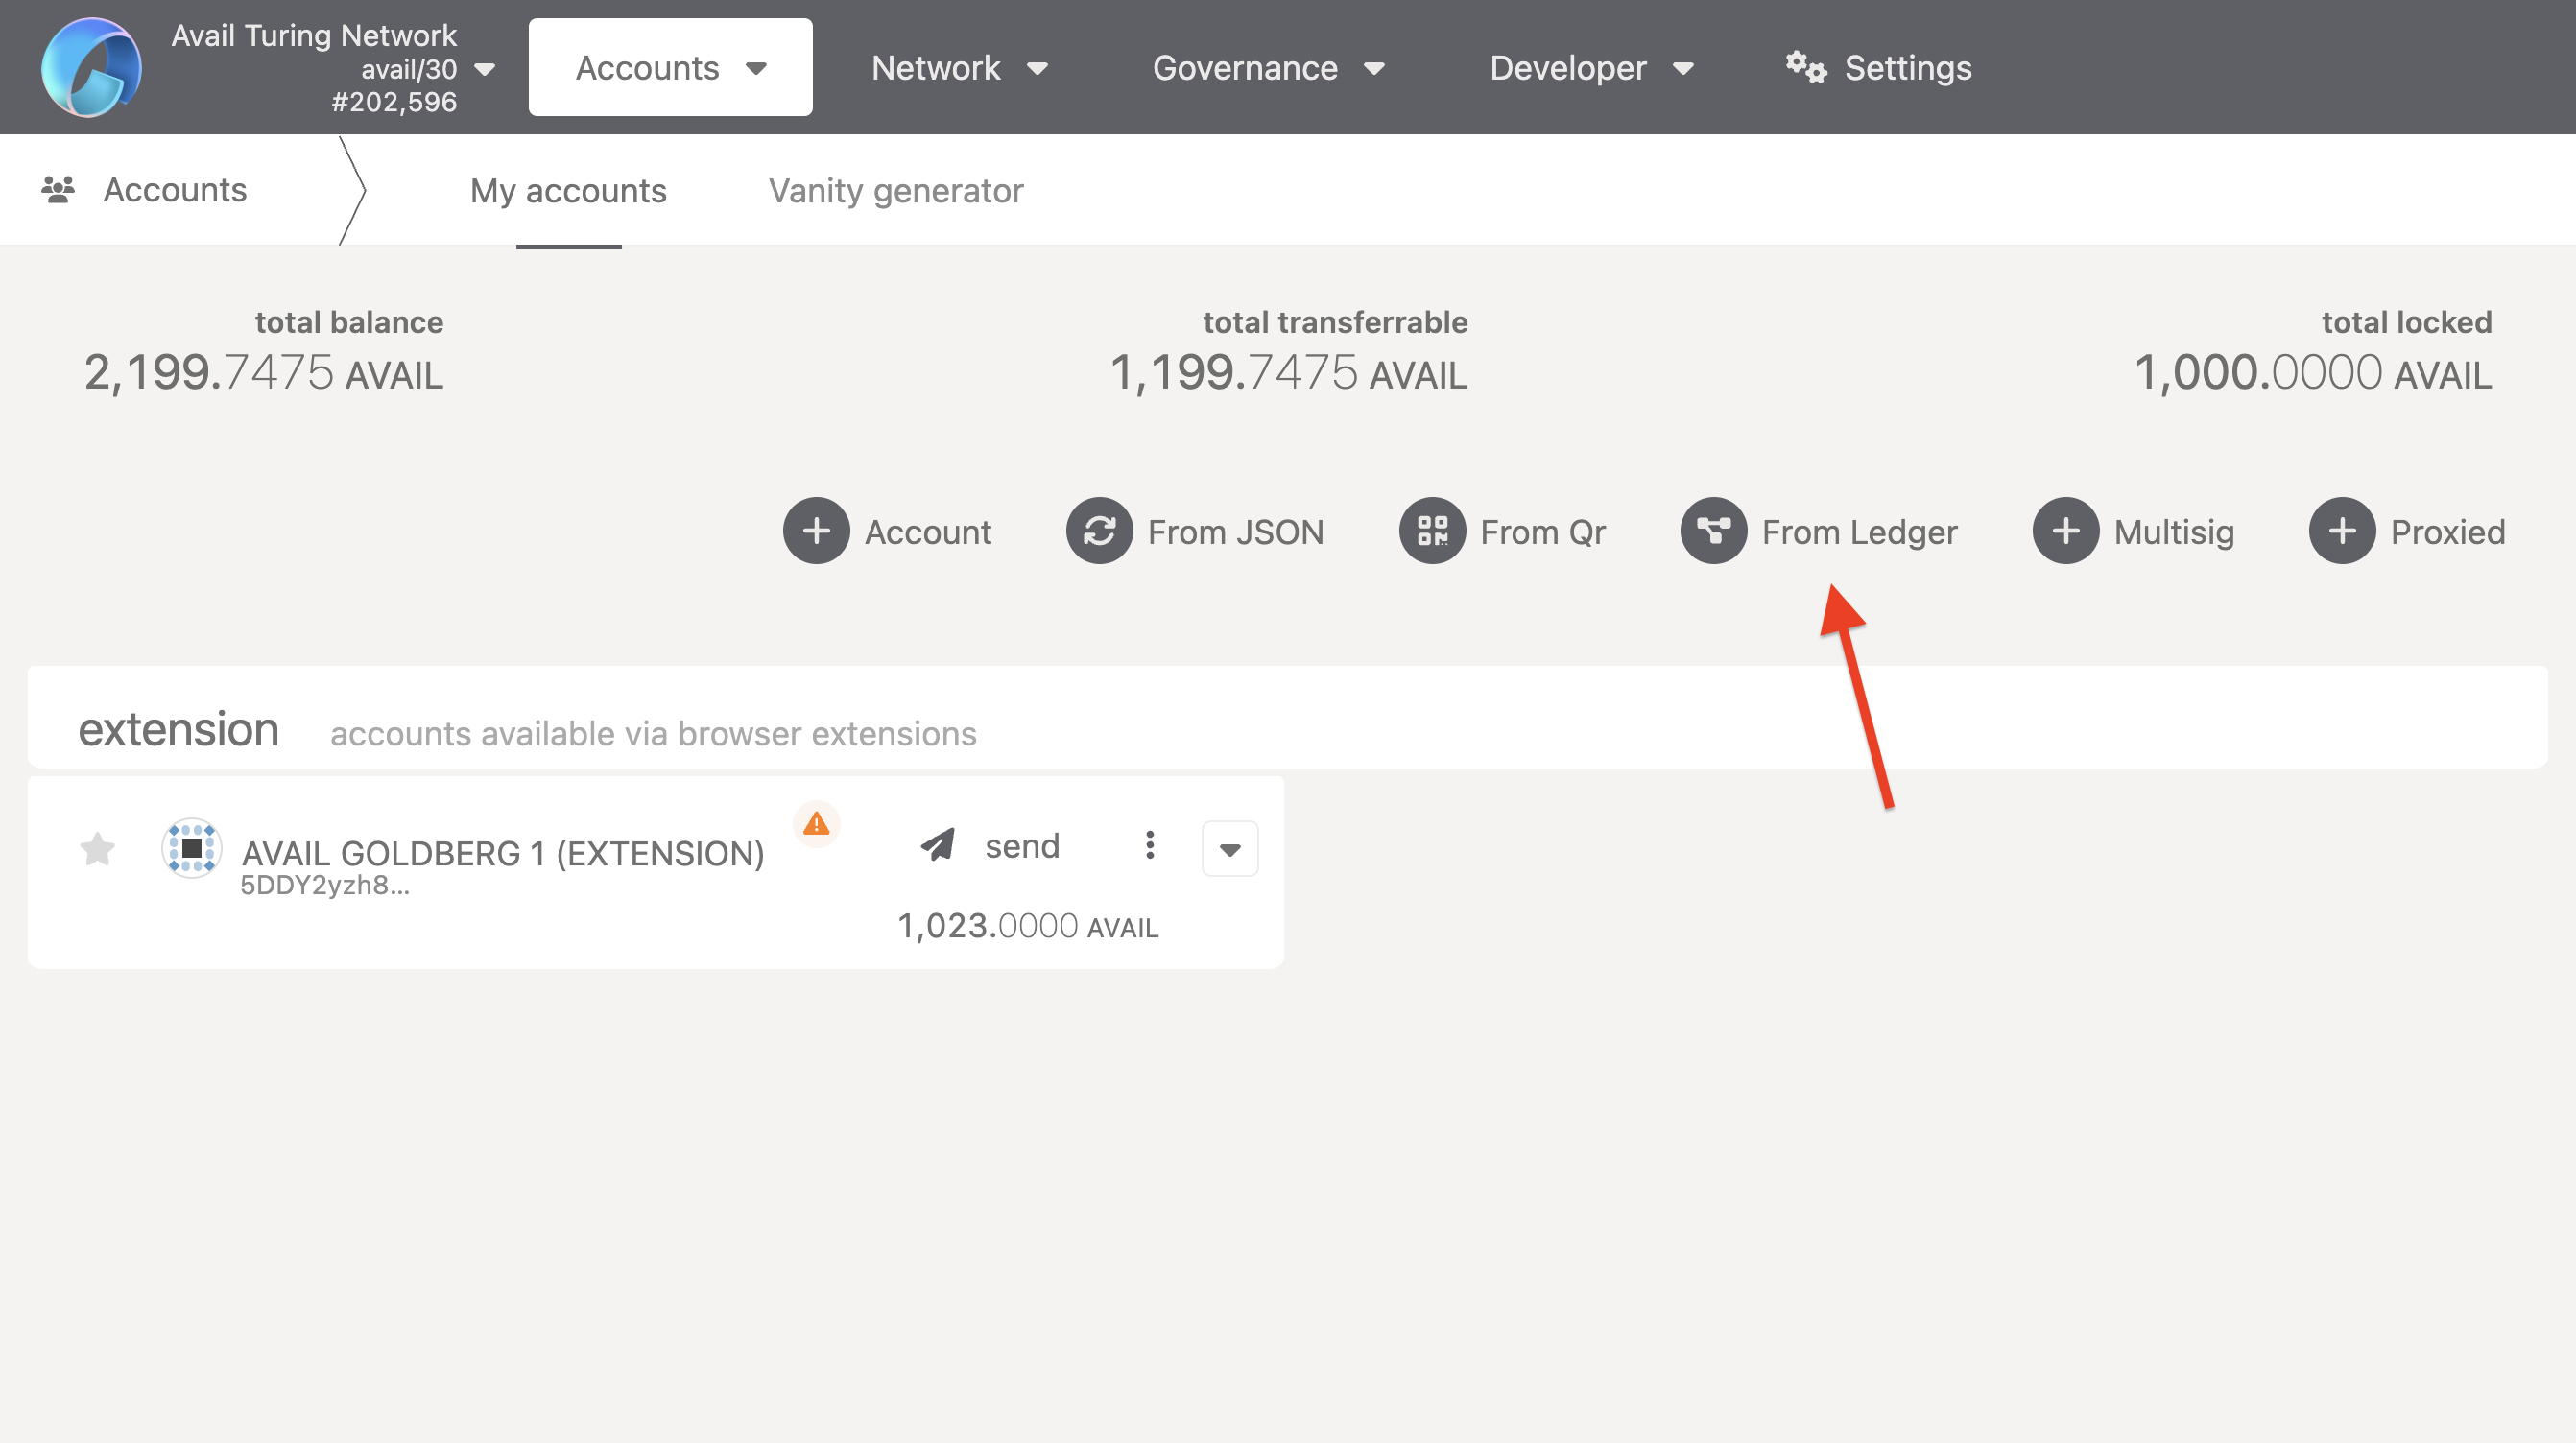
- Go to the accounts tab of the Avail apps explorer .
- Click on
From Ledger.
- A form will pop up. Give your derived account a random name.
- Choose a top-level and a second-level derivation for your account. We’ll be going with
0and0respectively.
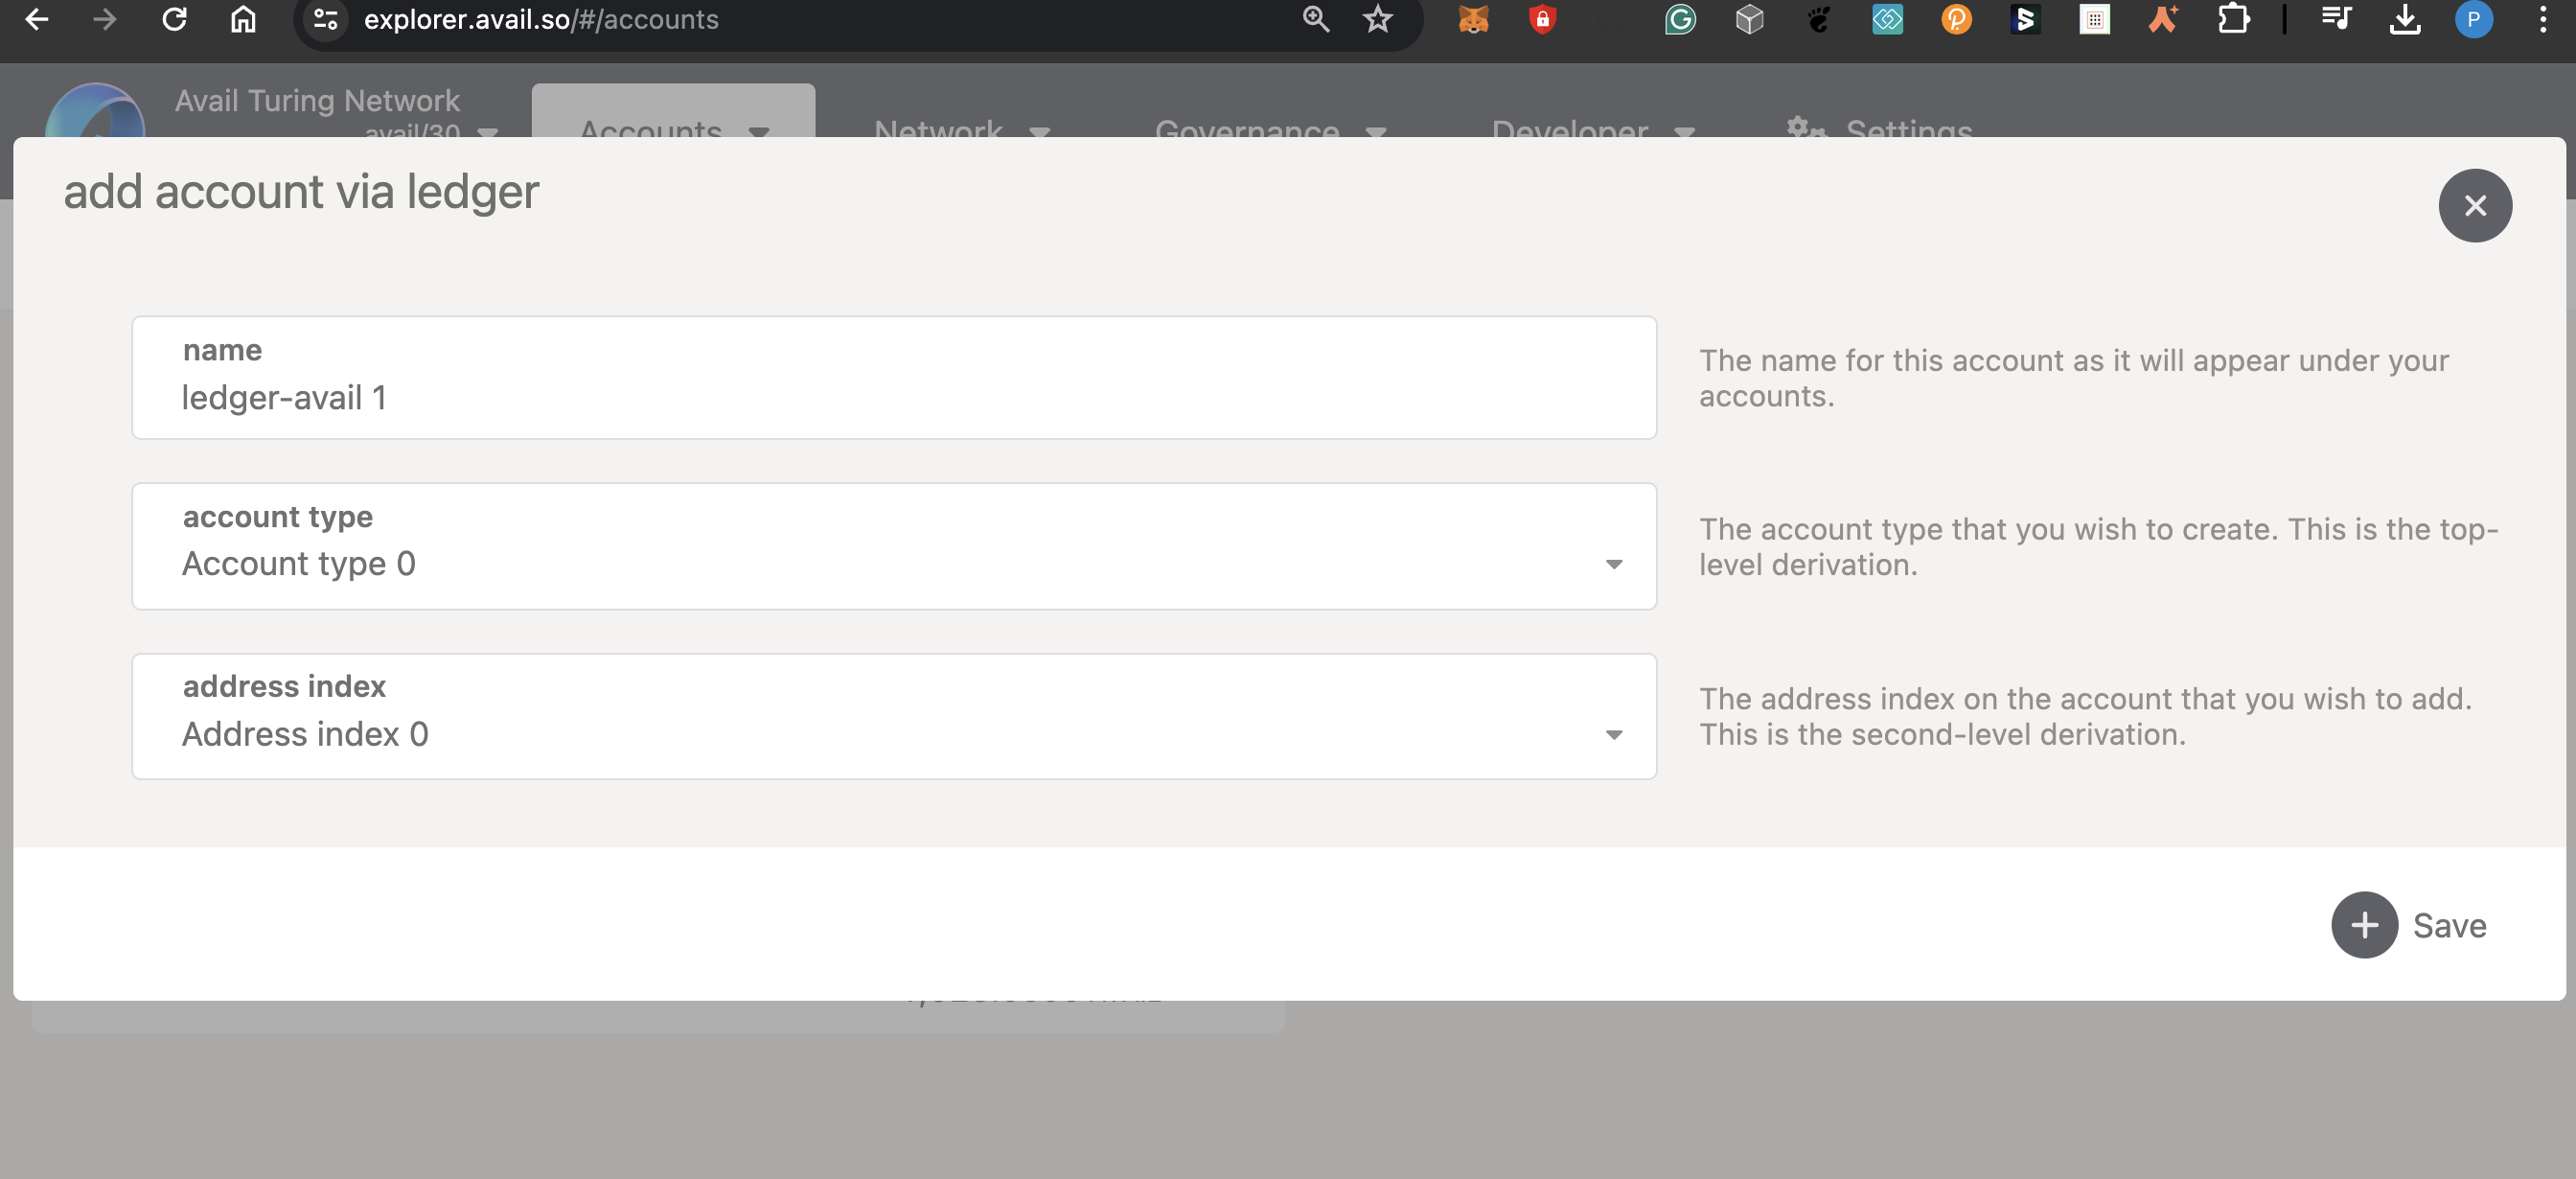
Any account address generated from your ledger will be a unique combination of your ledger-device’s seed phrase, the top-level derivation, and the second-level derivation. This means if you re-connect to the avail apps explorer with the same ledger device in the future (that has not been reset), and use the same top-level and second-level derivations, you will get the same account address.
- This is what the accounts tab should look like after you’ve derived a hardware account:
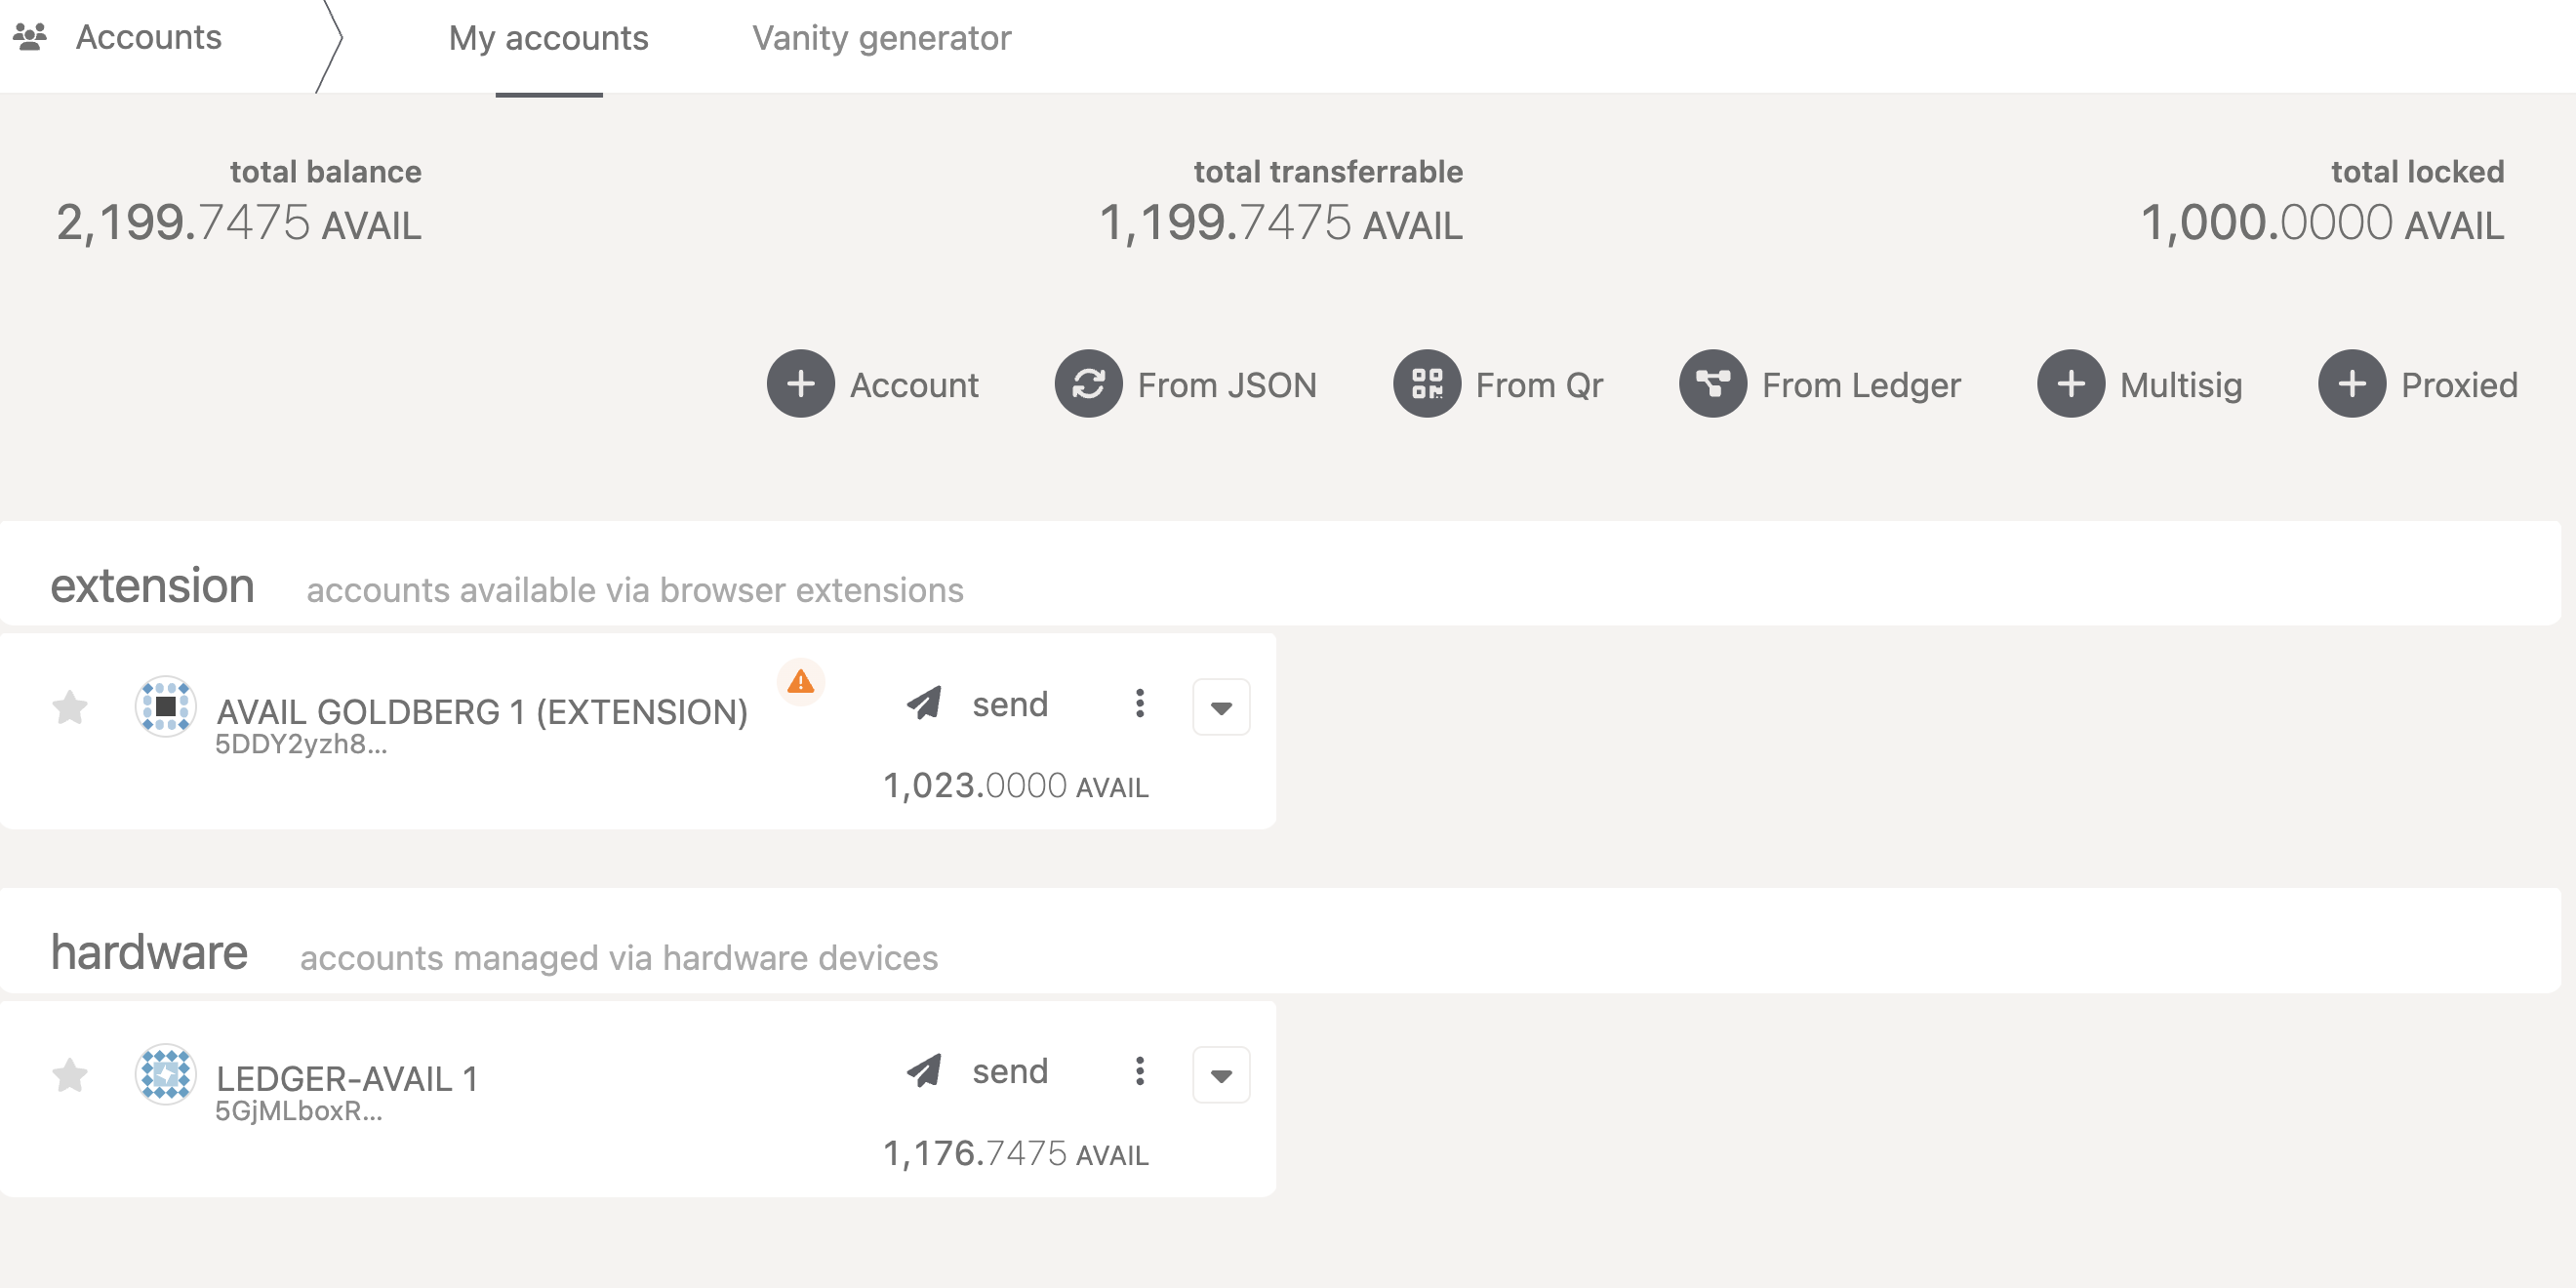
- Make sure to send some AVAIL to this account to interact with Avail DA.
Sign a transaction on Avail DA using your ledger device
- Click on the
sendbutton alongside your ledger wallet. - Enter a recipient’s address and an amount to send.
- Click on
Make Transfer. - Make sure the app id is
0if you’re performing a simple transaction.
Please note that non-zero app ids are used to submit data to Avail DA.
For all top-level/simple transactions, the correct app id is 0.
- Click on
Sign and Submit. - At this point the explorer UI will wait for a signing/rejection of the transaction from your ledger device.
- You can verify important details of the transaction from your ledger device, including the destination address and the amount of AVAIL being transferred. This is what it should look like:
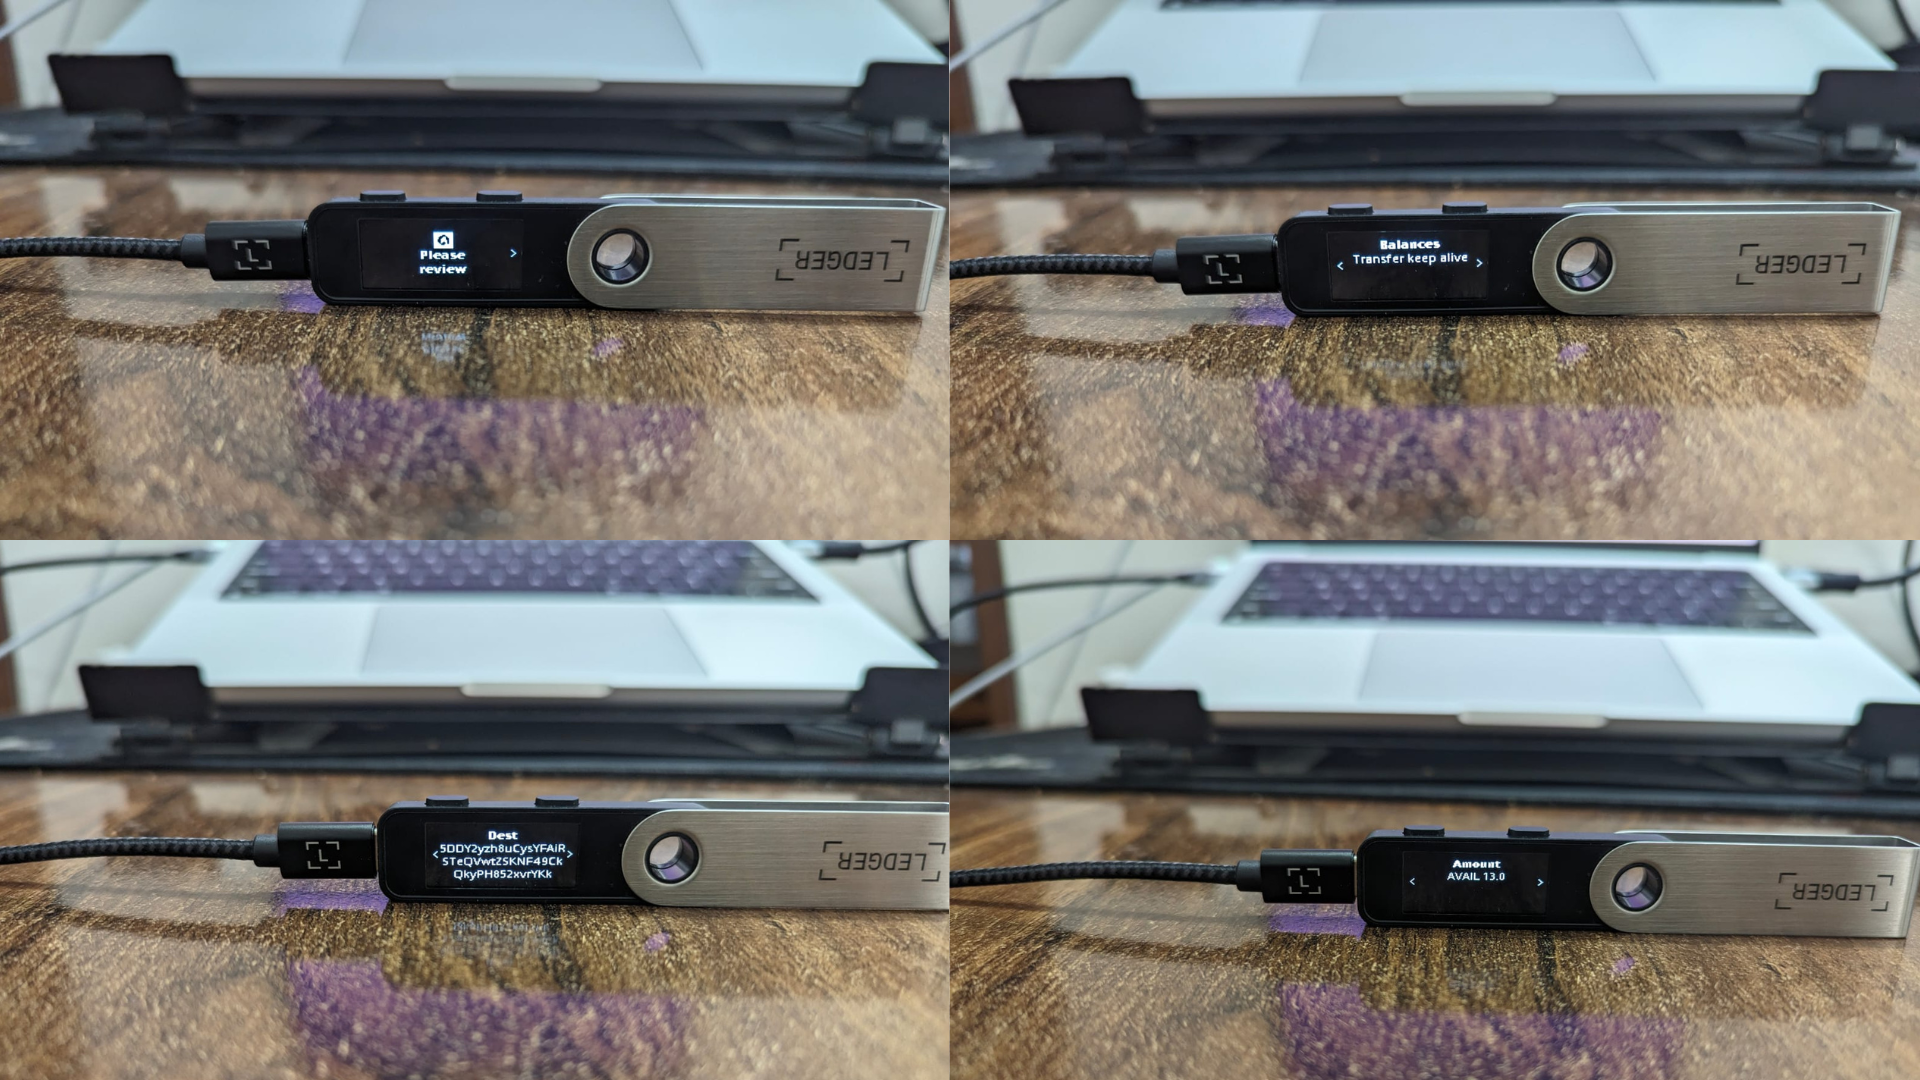
- Once you are done verifying,
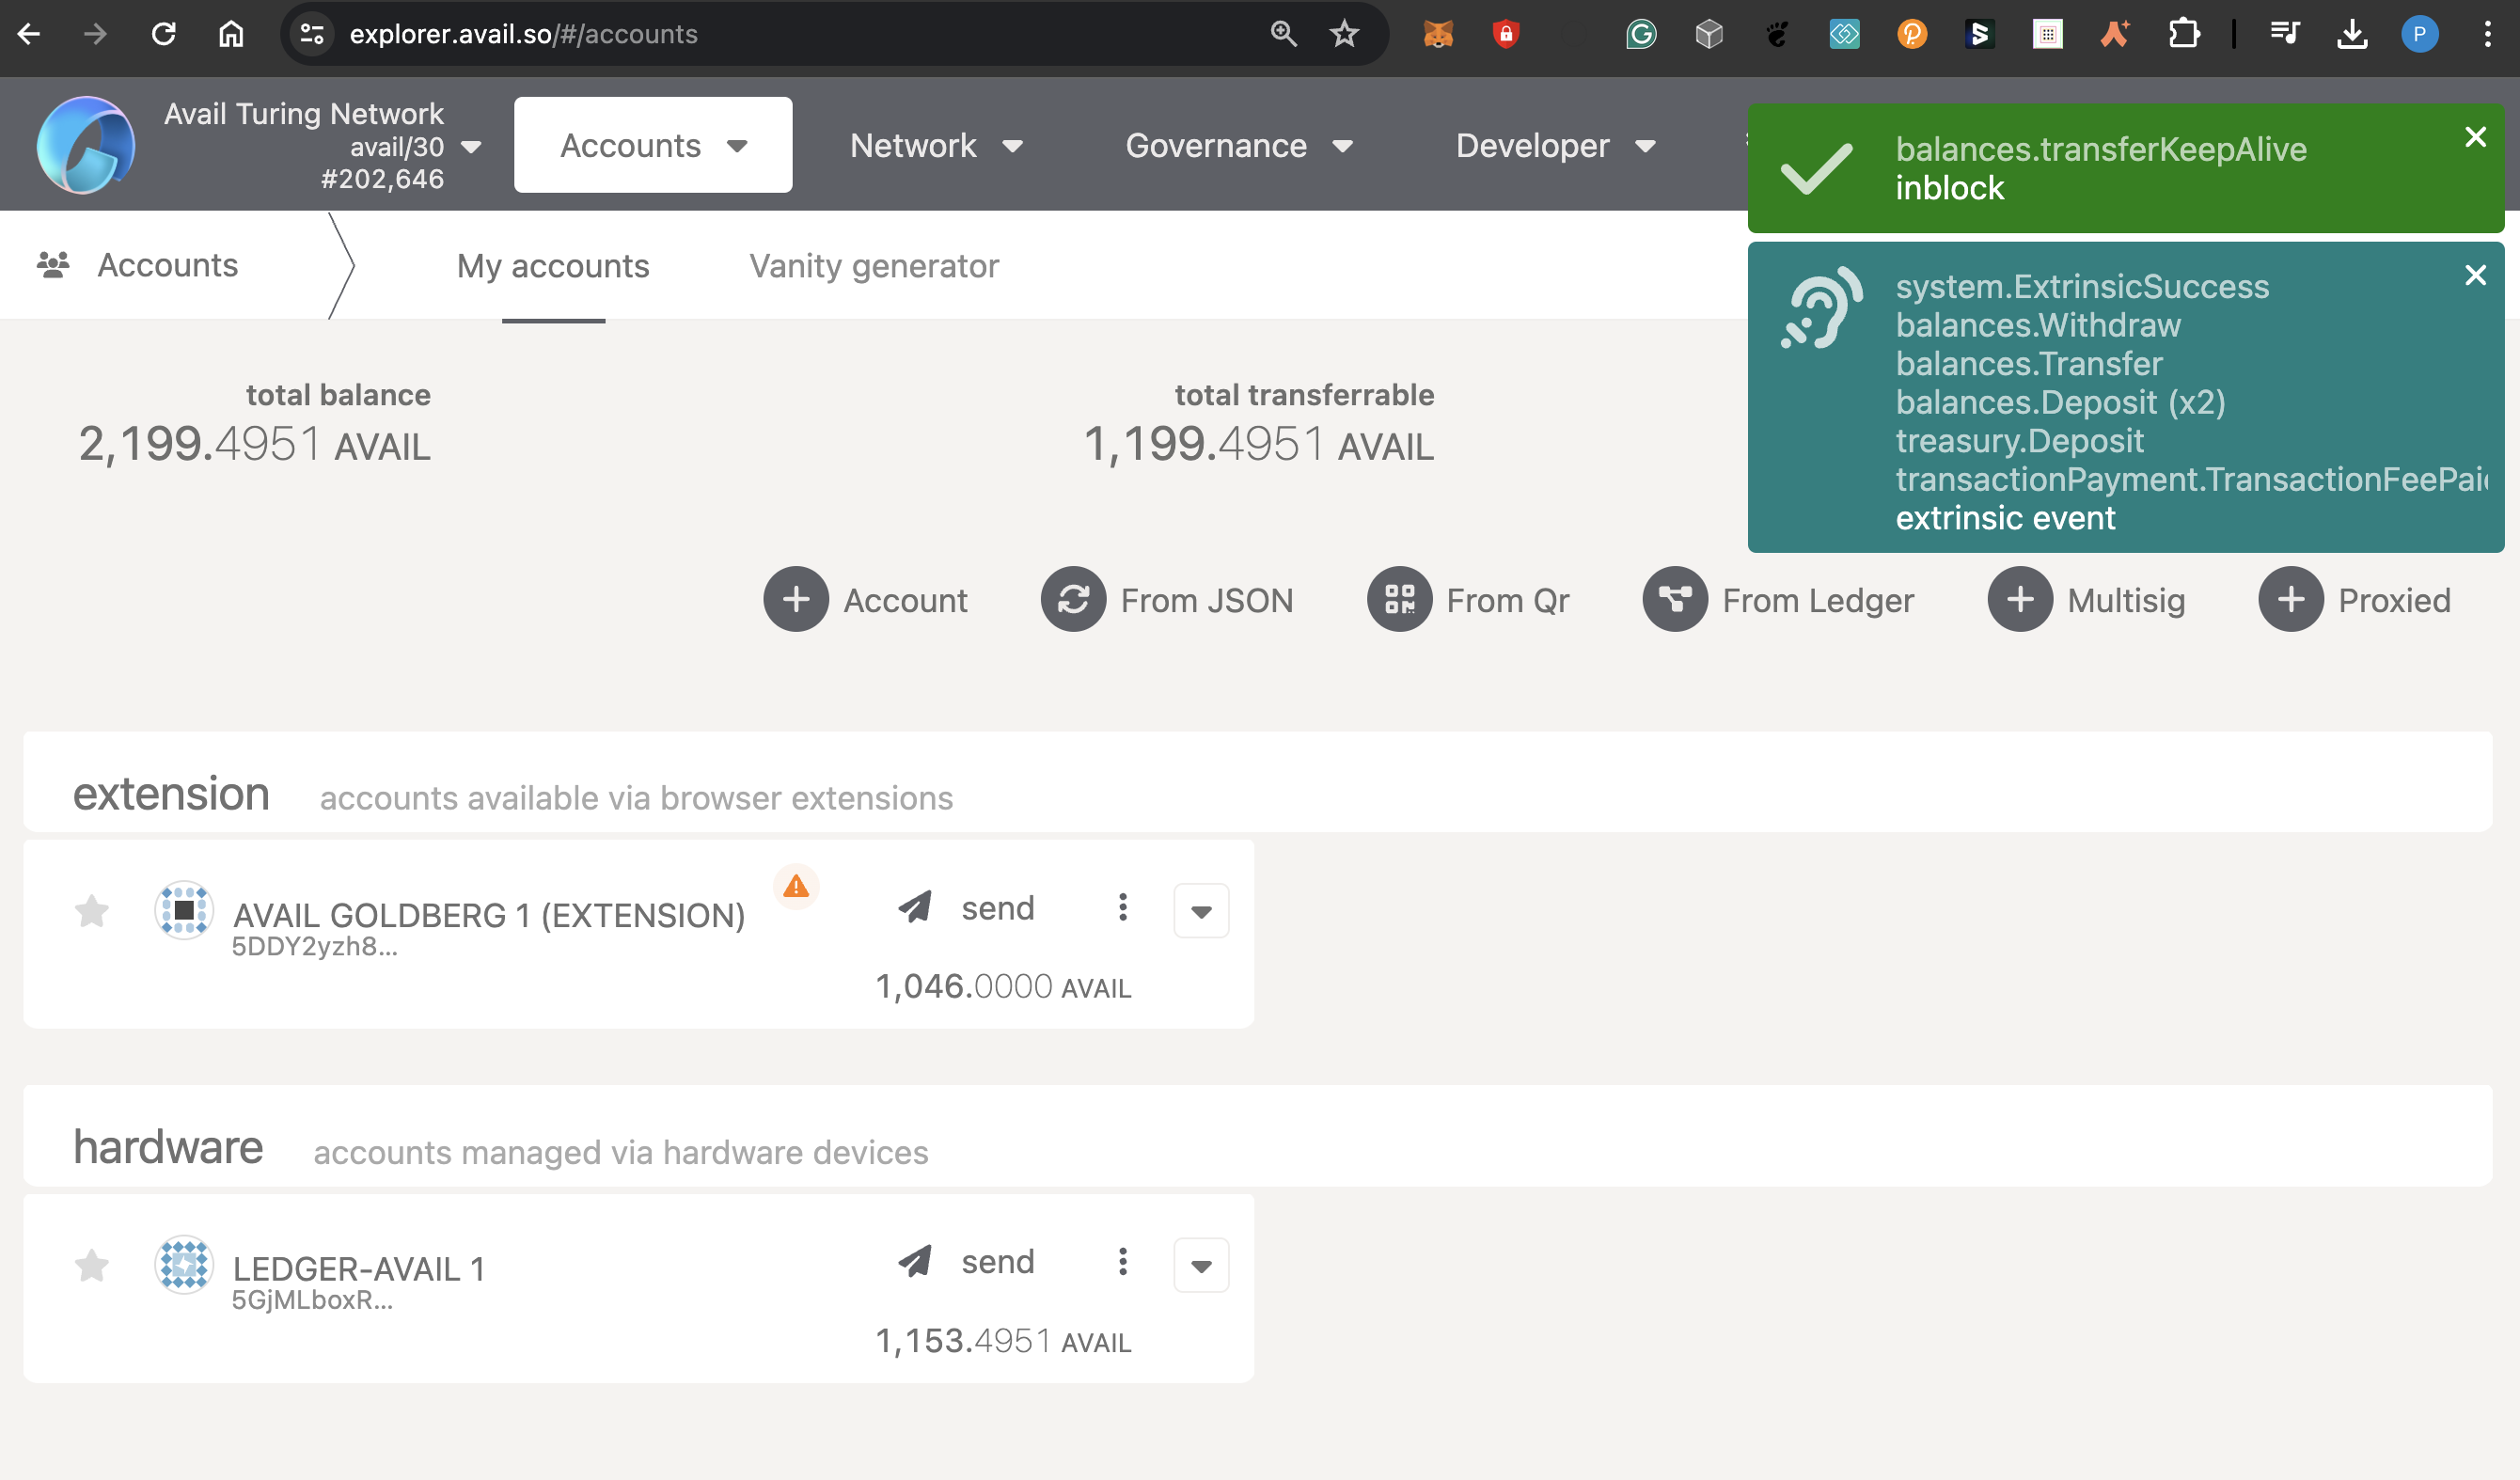
ApproveorRejectthe transaction using the buttons on your ledger device. - Once the transaction has been finalised, you will see a success message on the explorer UI:
Support
If you face any issues while using your ledger device with Avail DA, please feel free to reach out to us on our Telegram or Discord .
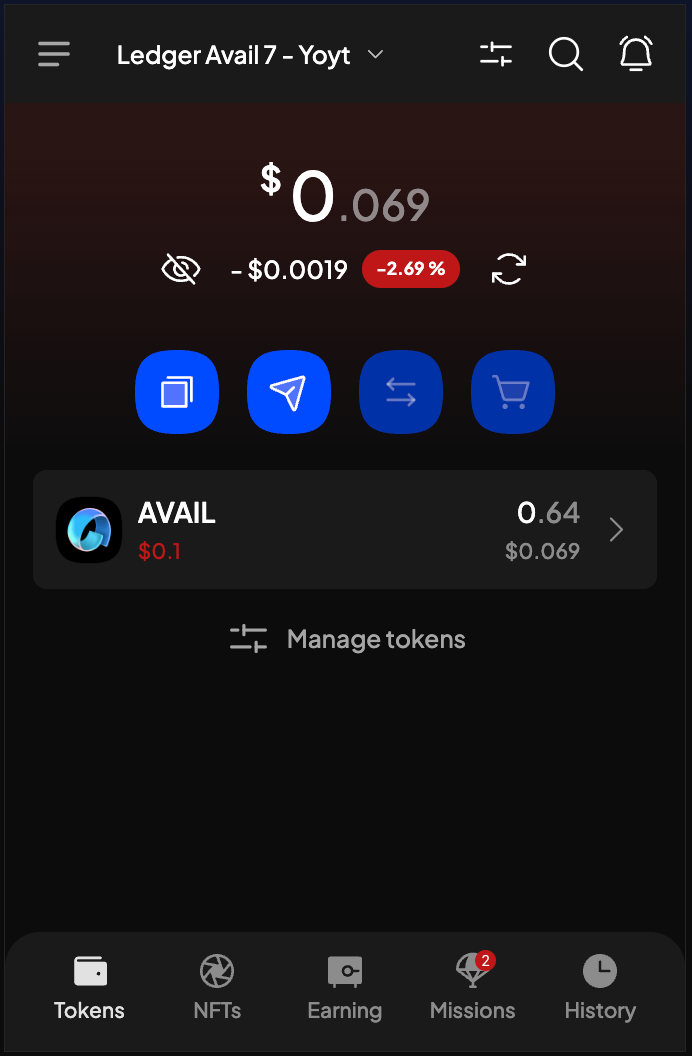
Add your Ledger account to an extension wallet
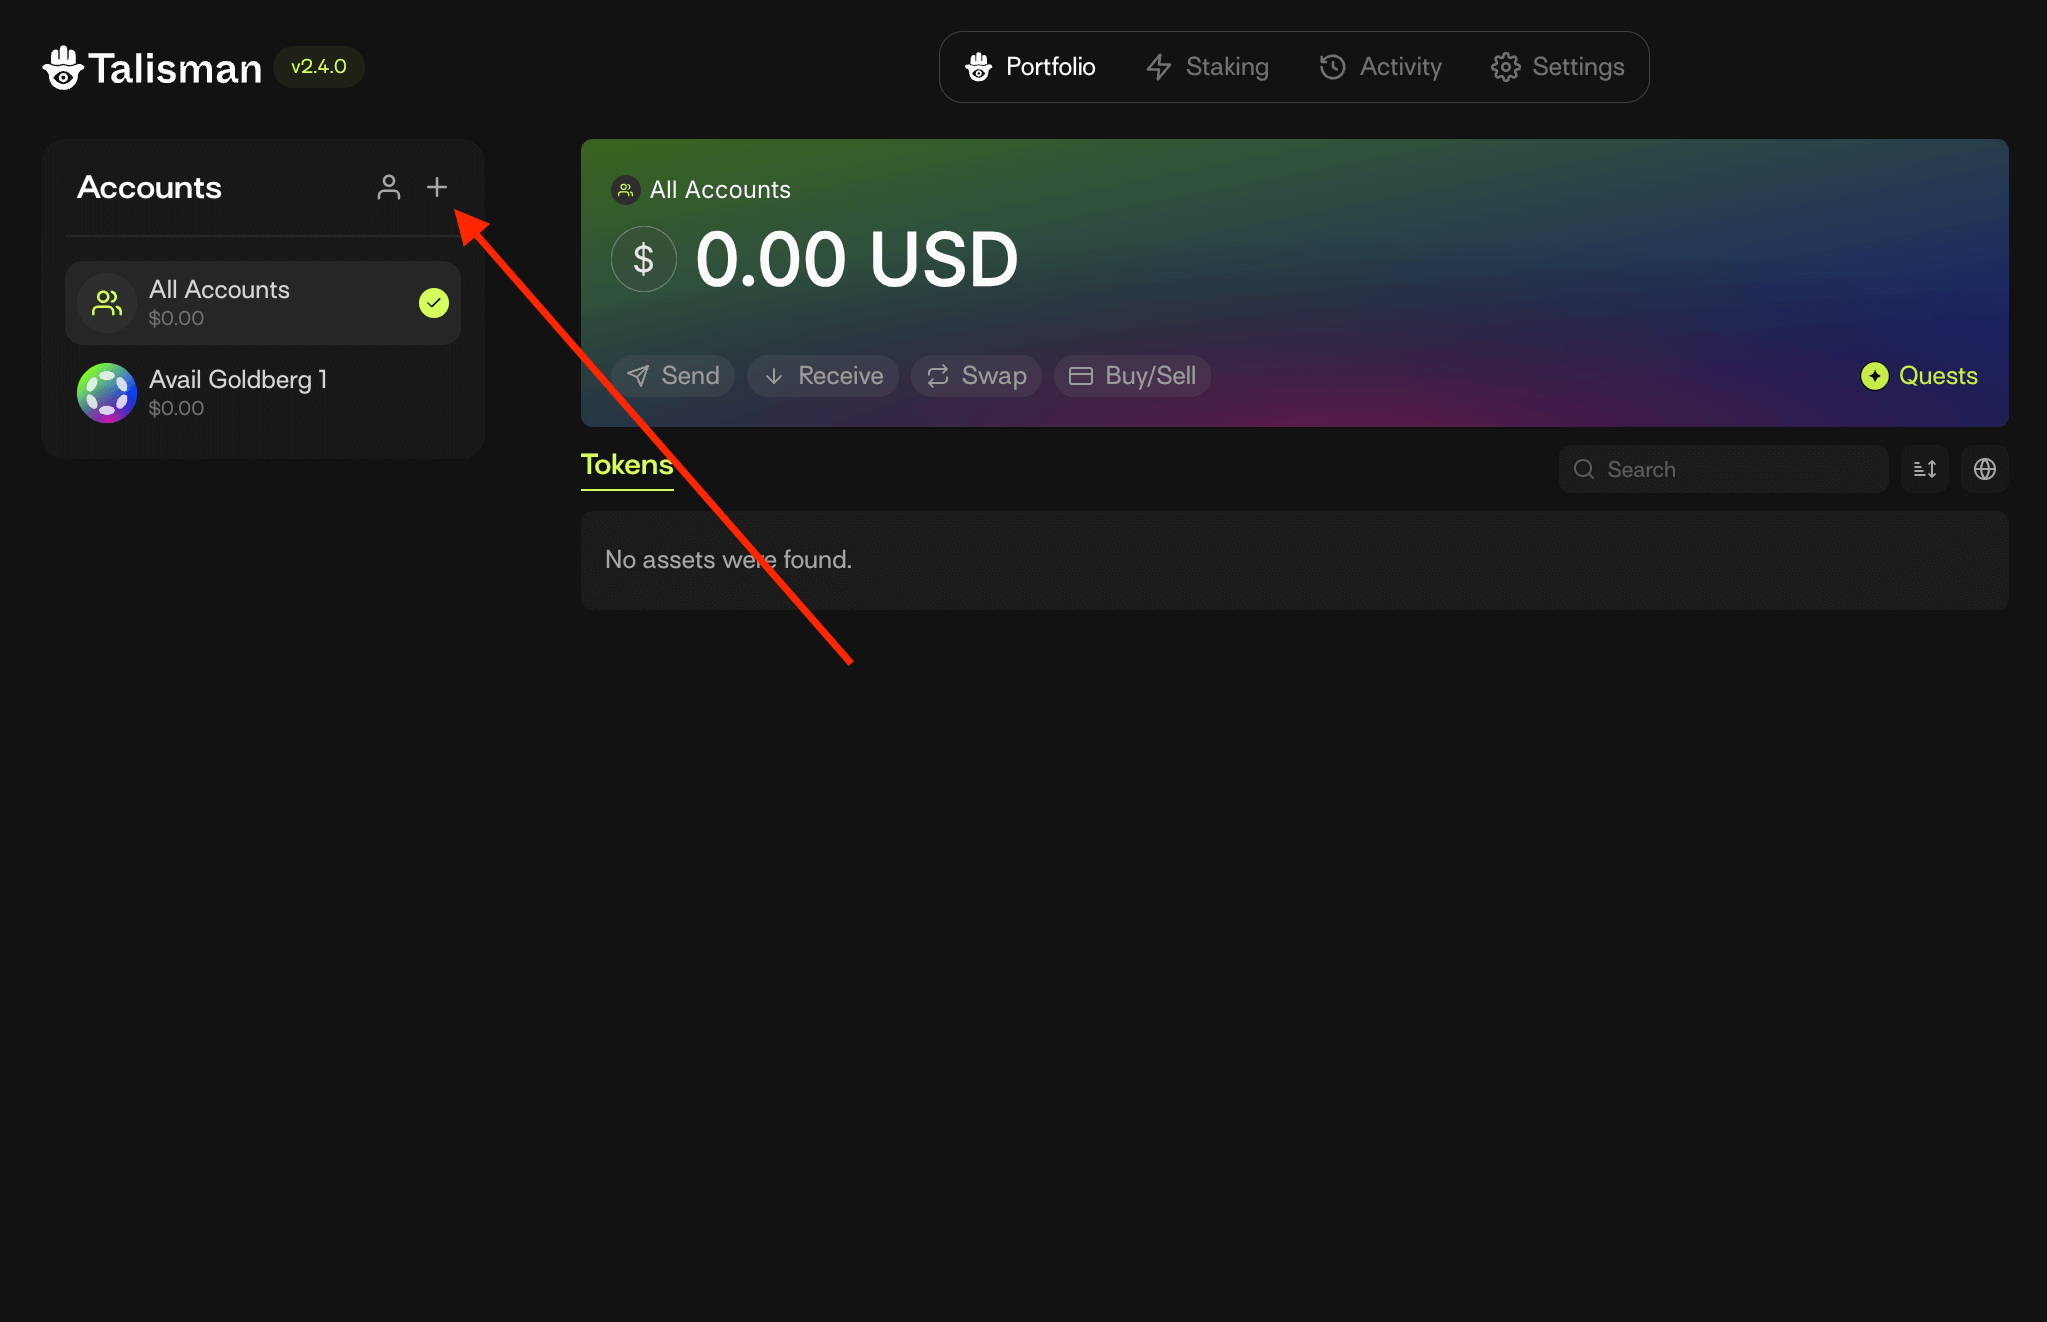
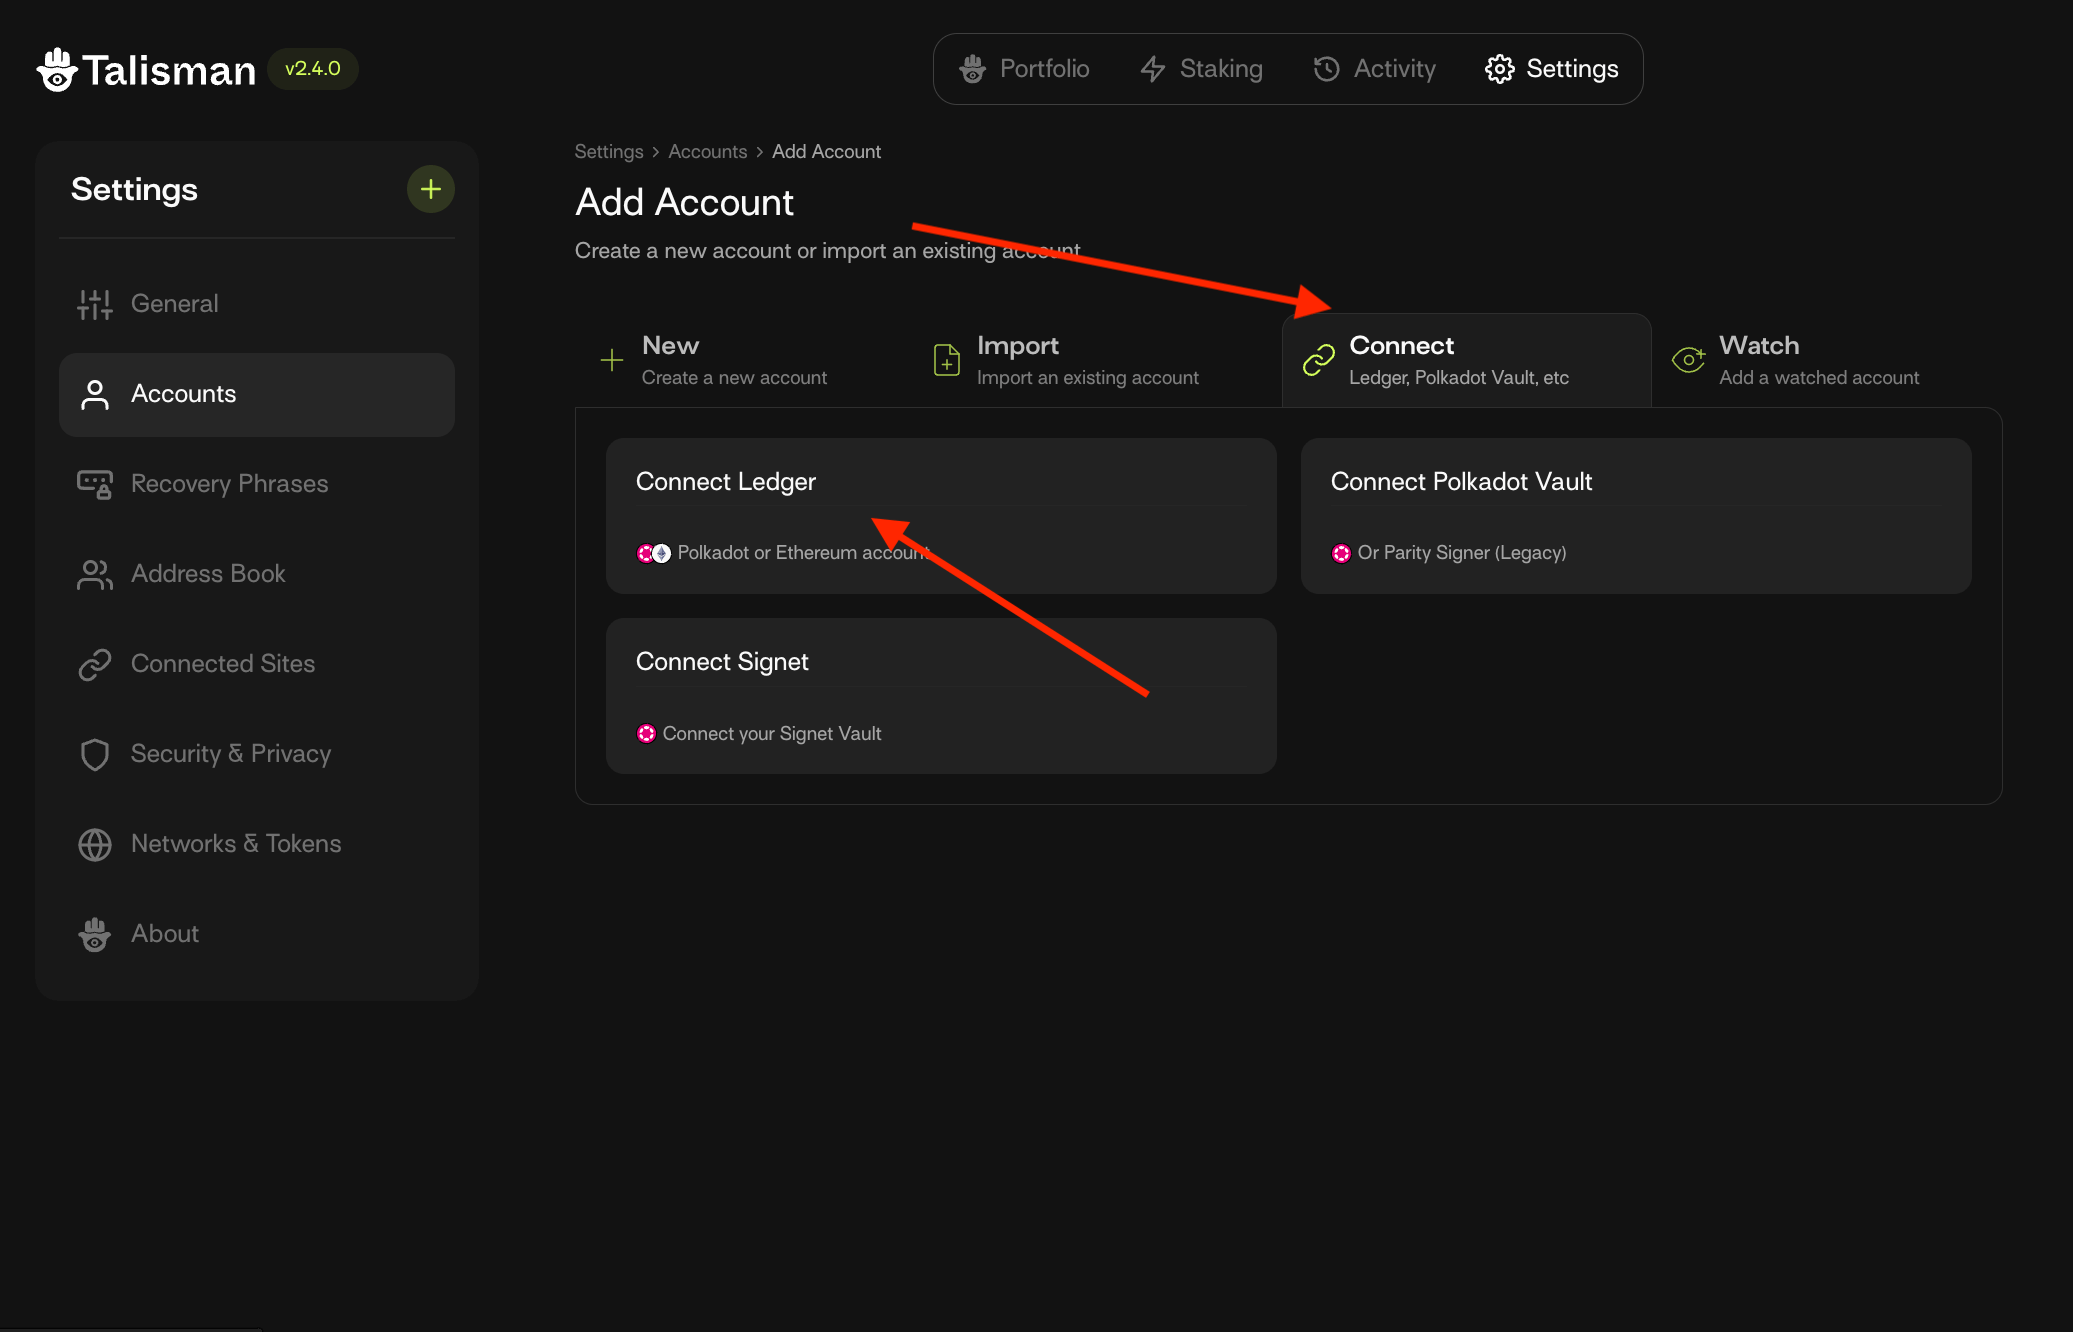
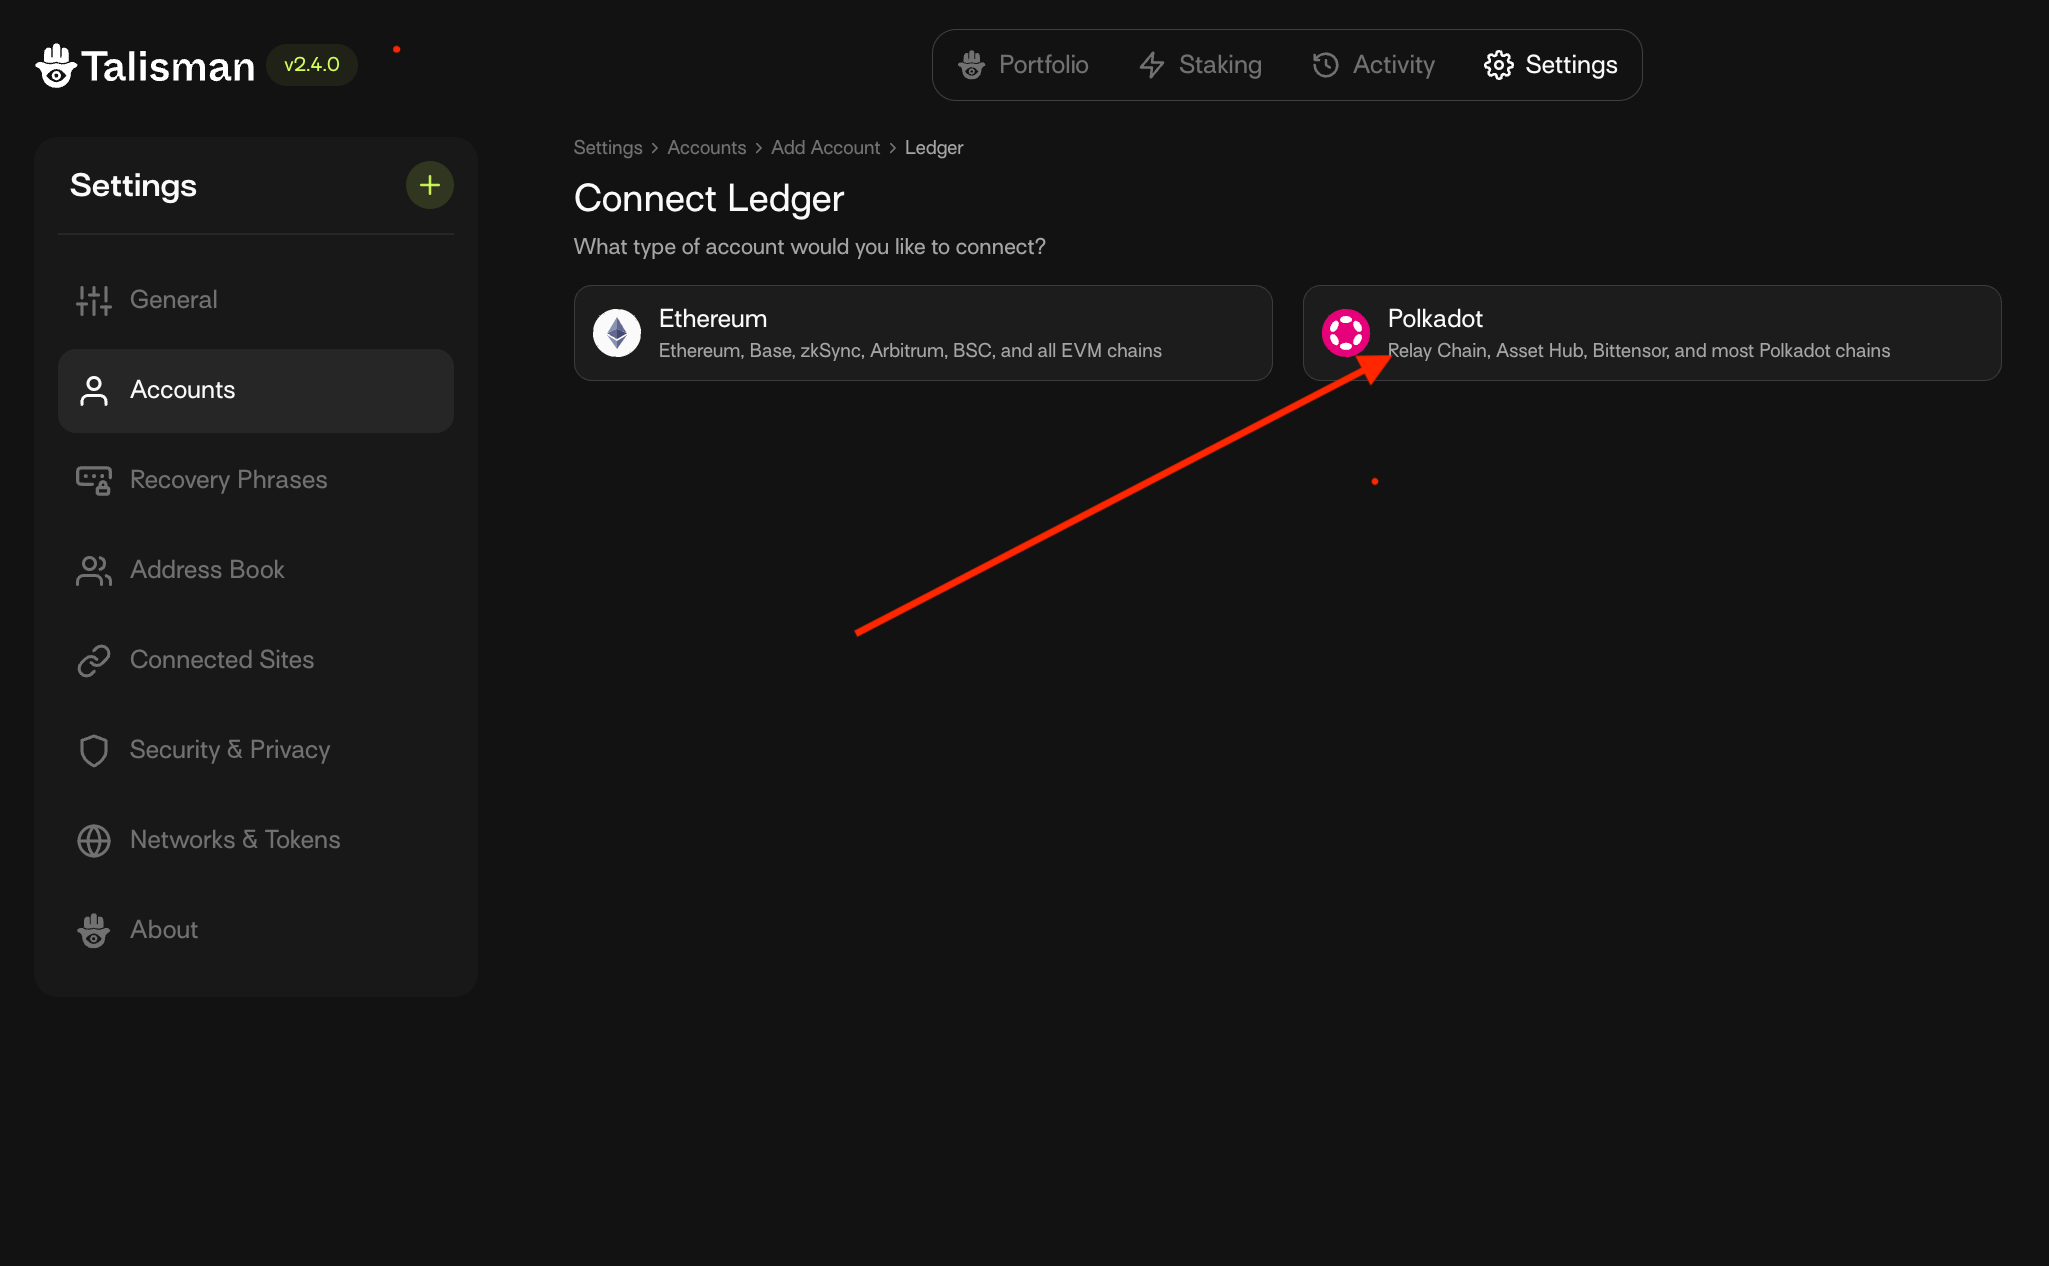
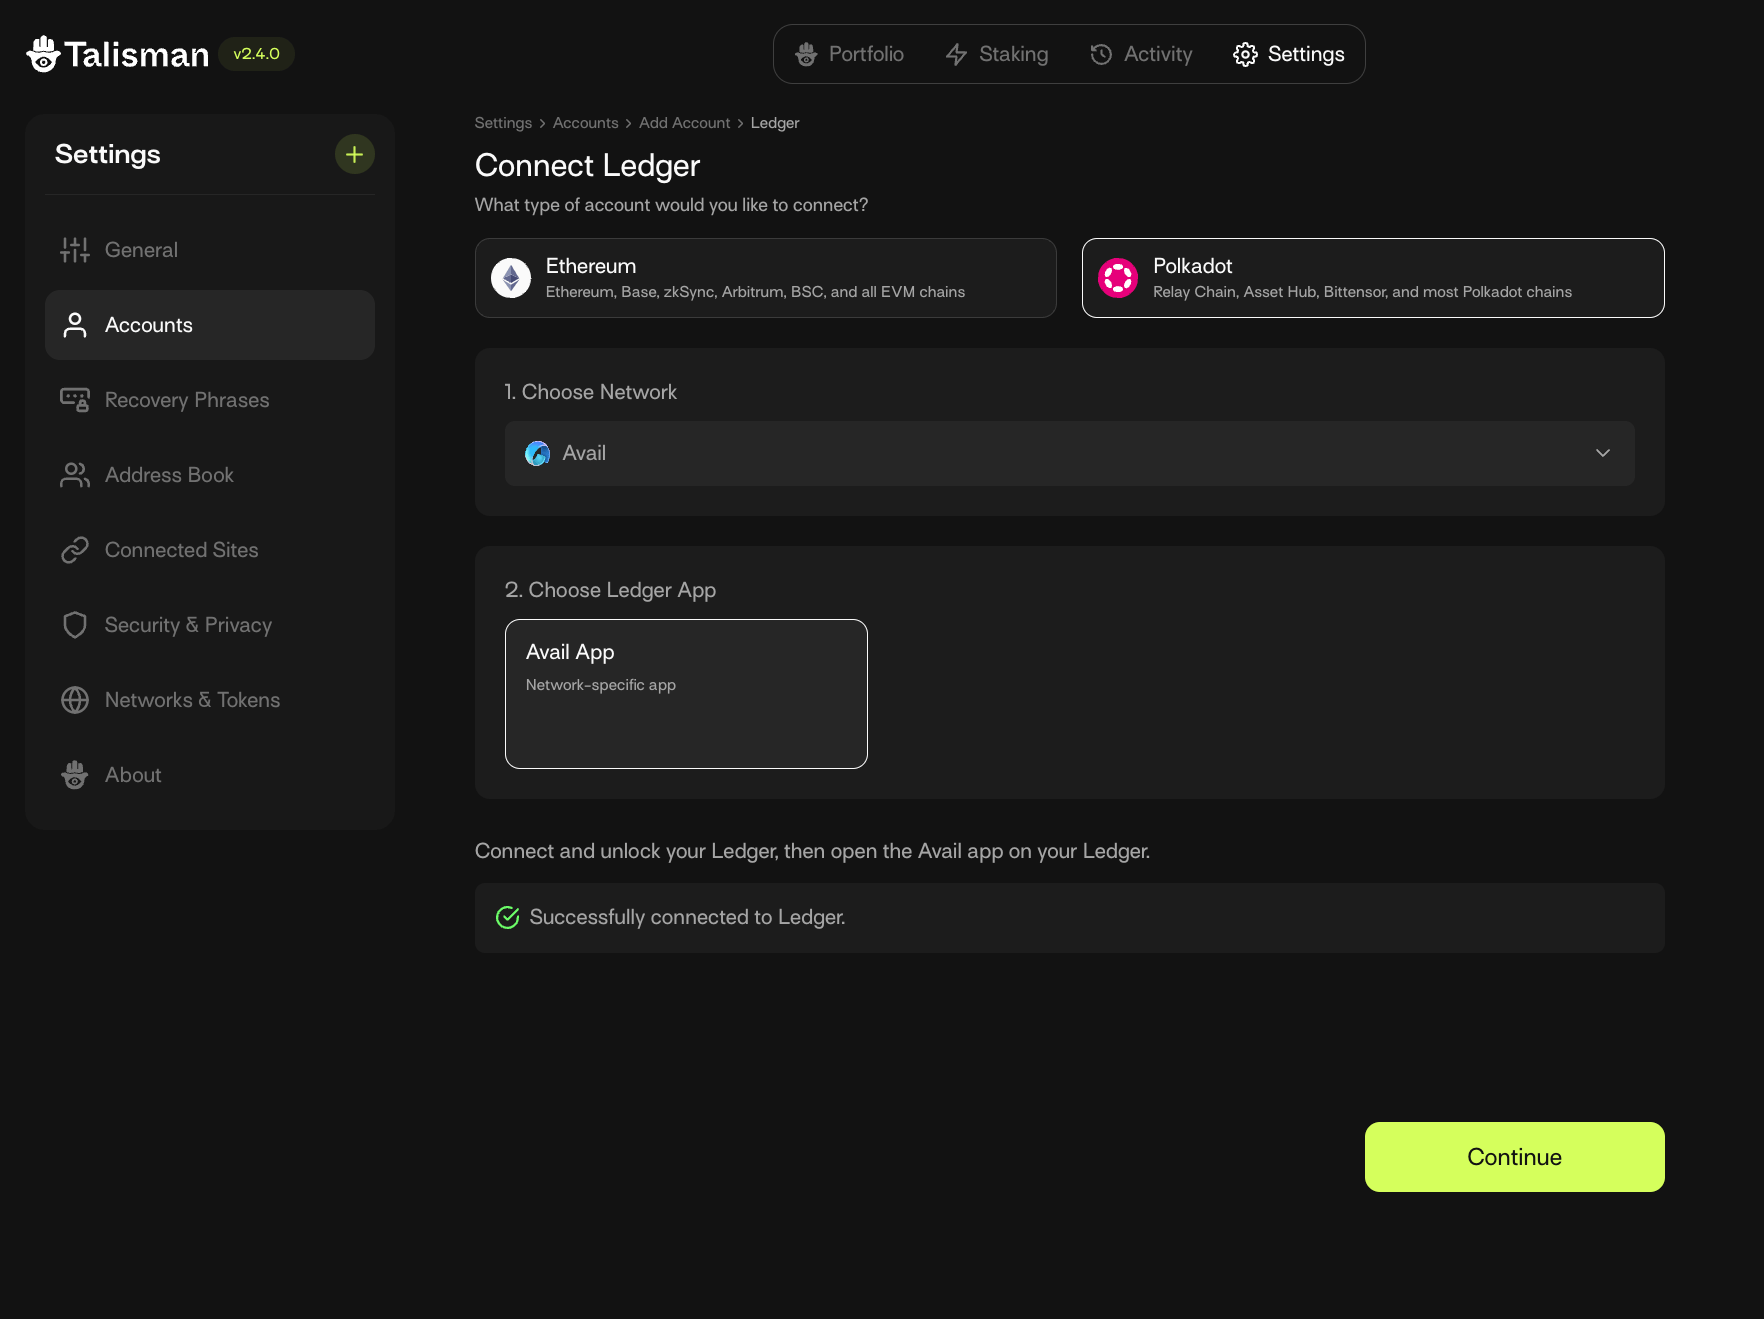
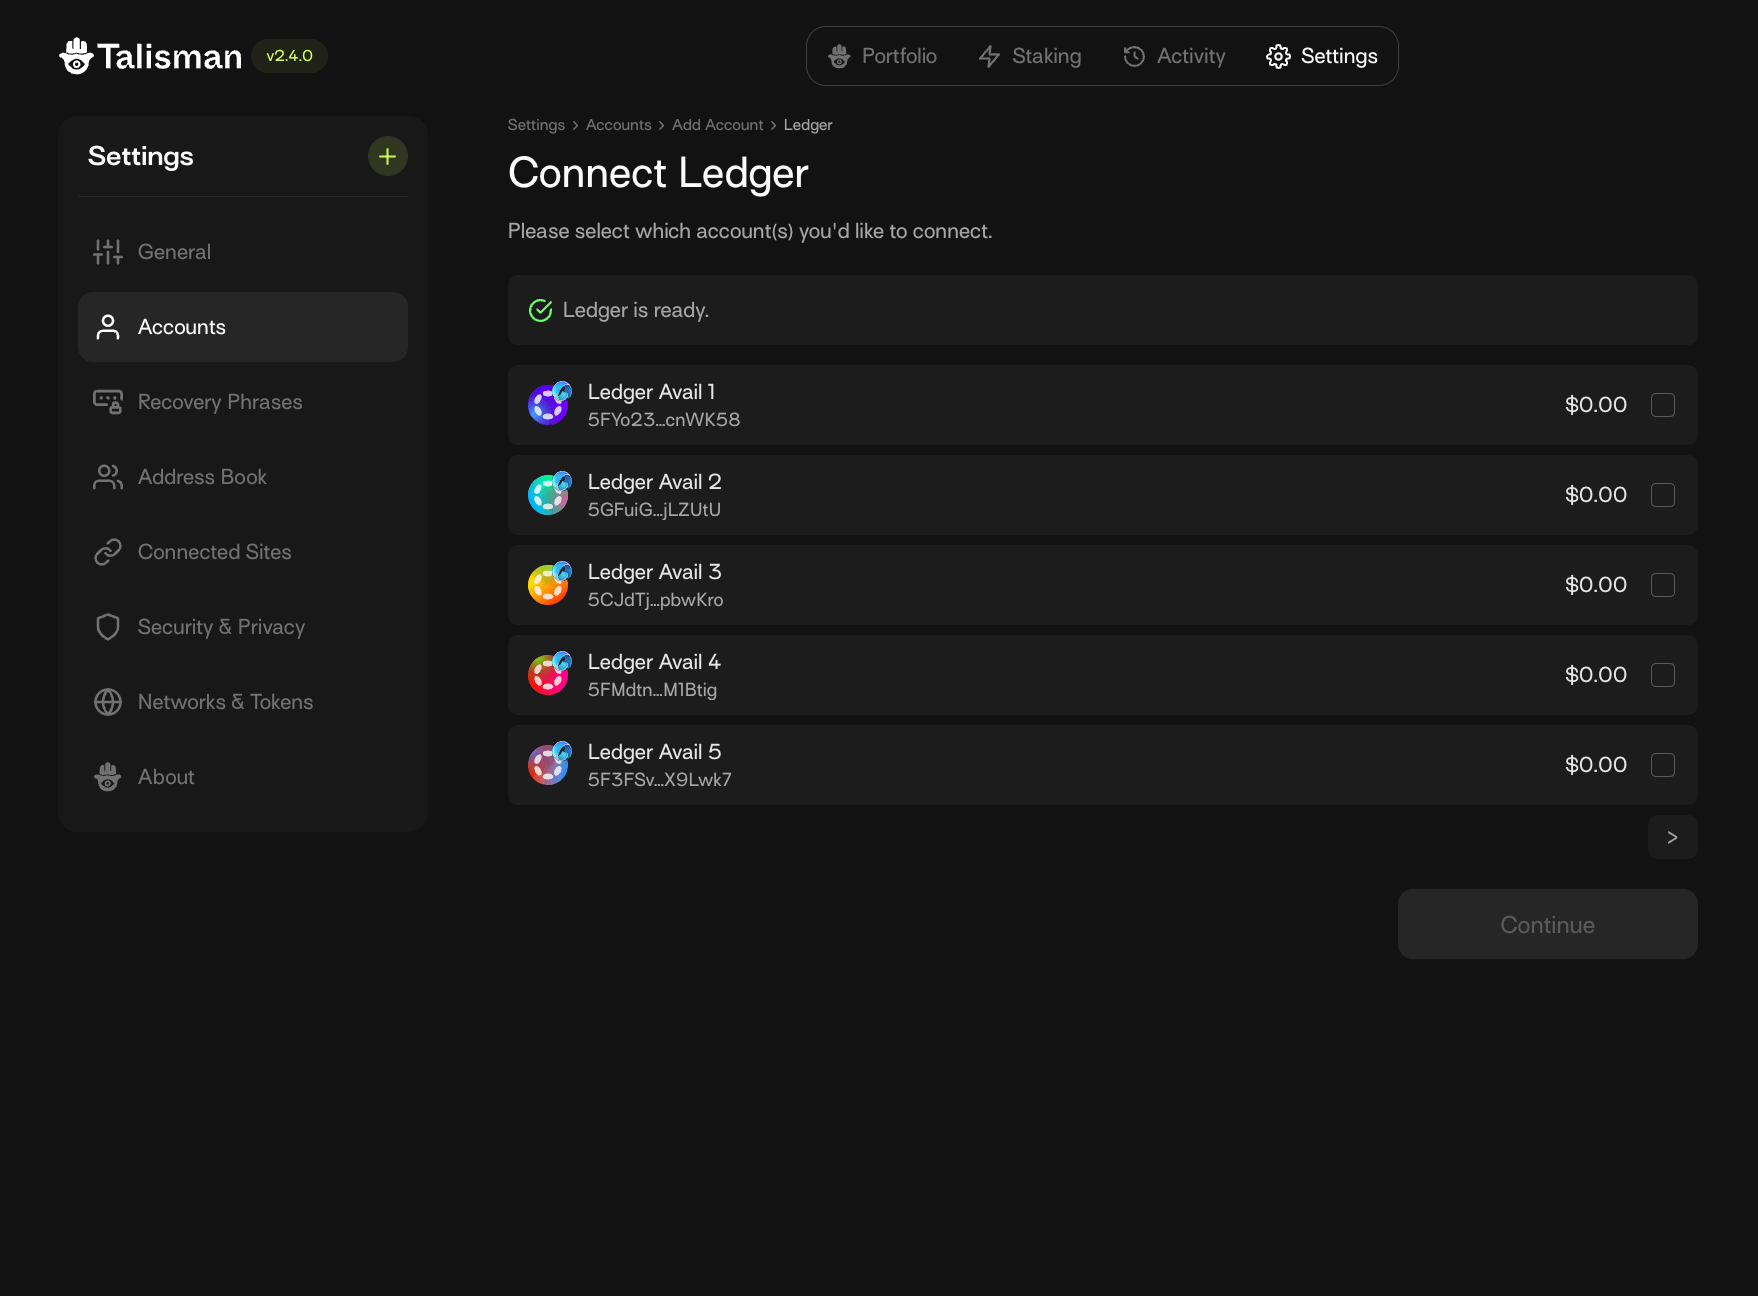
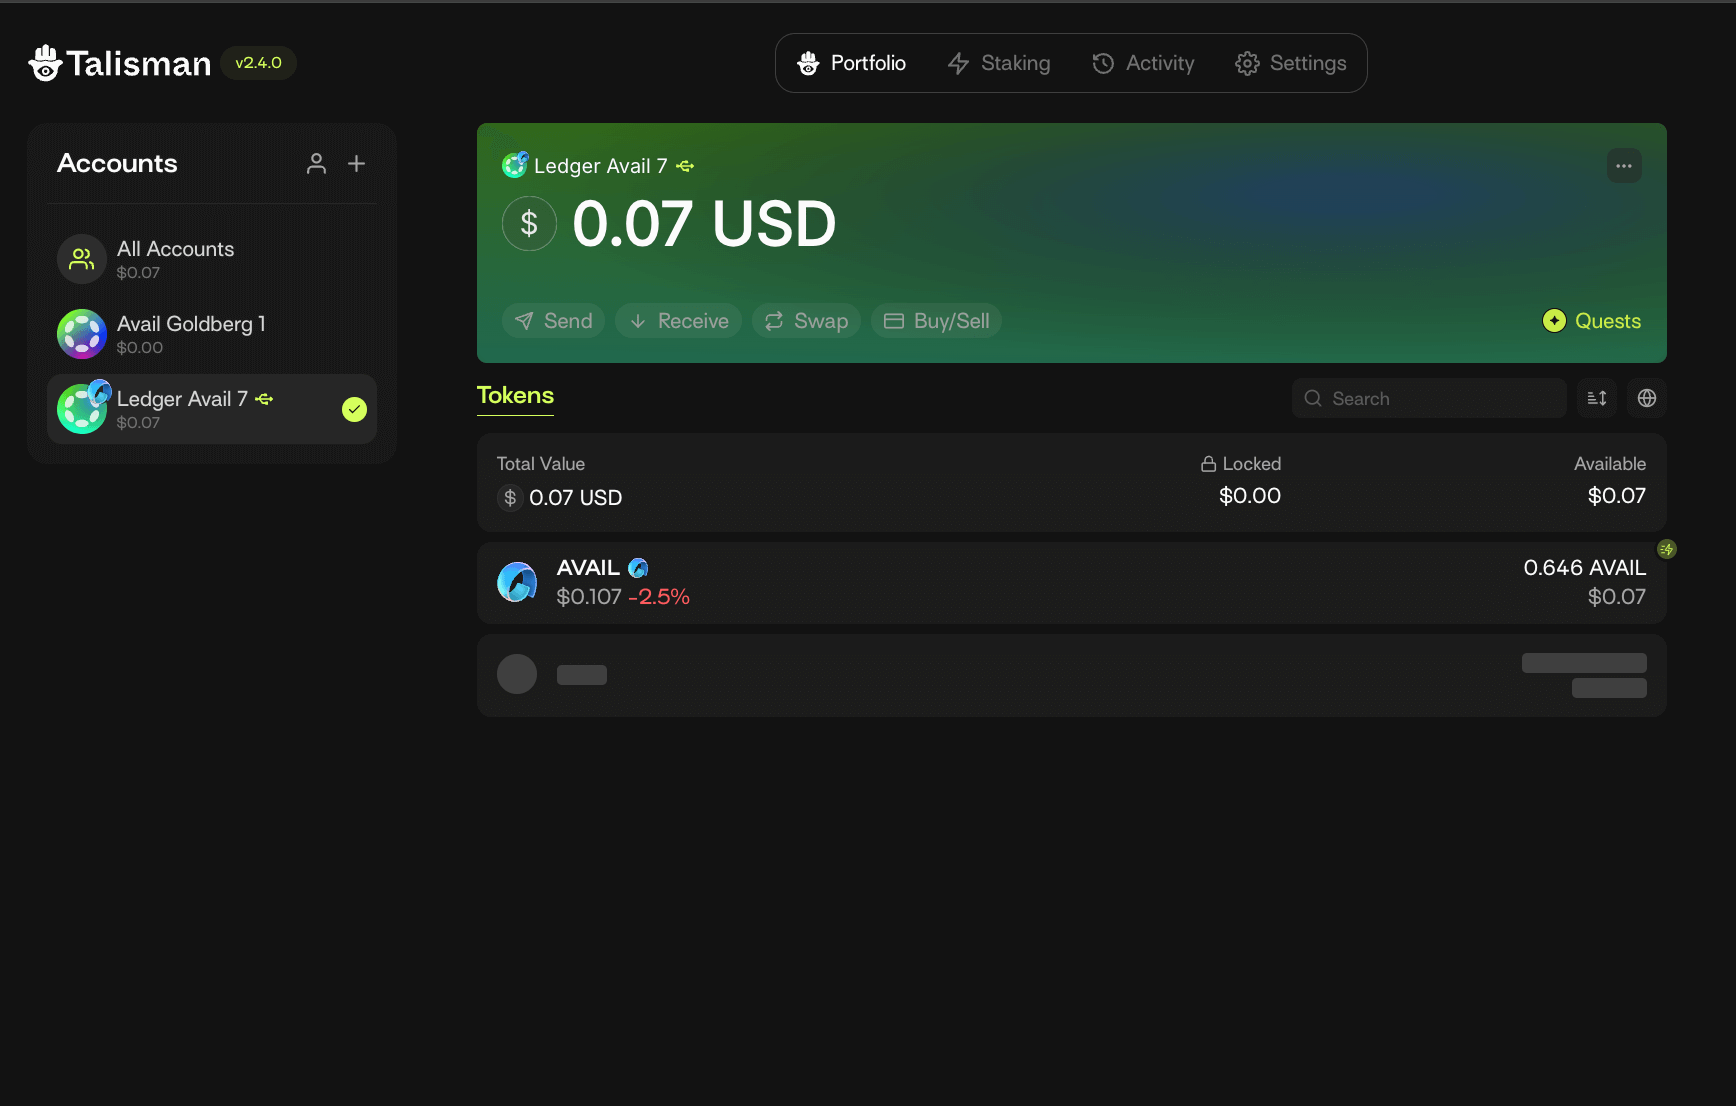
If you have set up your ledger device and want to use it through a dedicated Avail wallet, this section is for you. We have included instructions for connecting a ledger account with Subwallet & Talisman, but the process is similar for other wallets.
If you are looking for instructions on getting started with an Avail wallet, you can refer to our accounts guide.
Subwallet
Prerequisites
Make sure your ledger device is unlocked and the Avail app is open.
Click near the top to expand the list of accounts
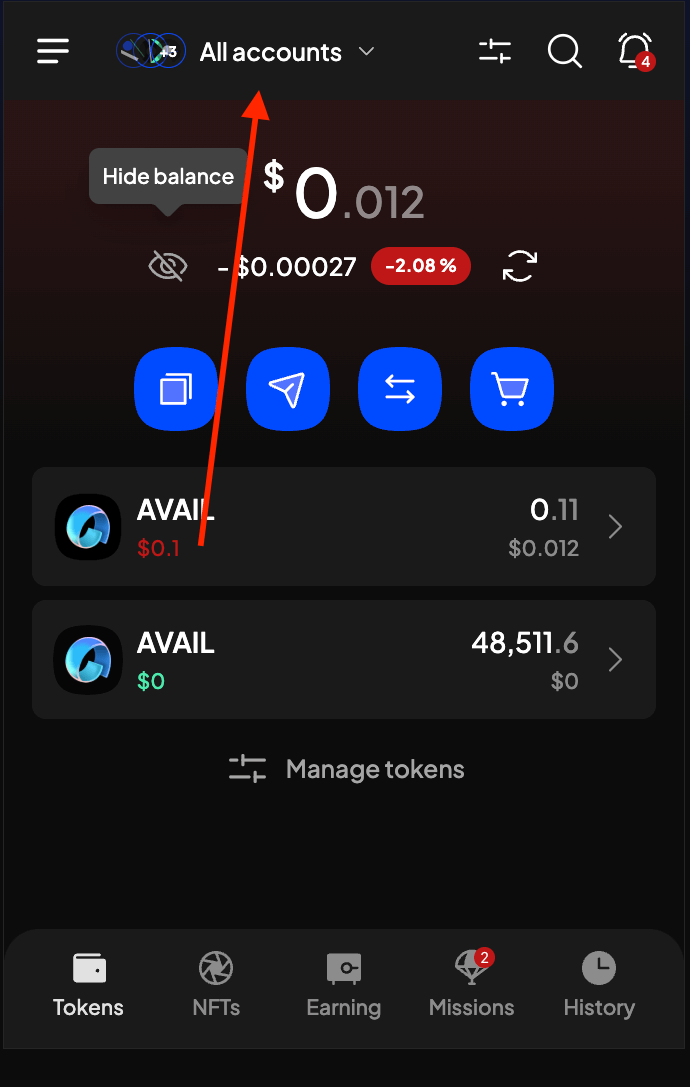
Click on Attach account
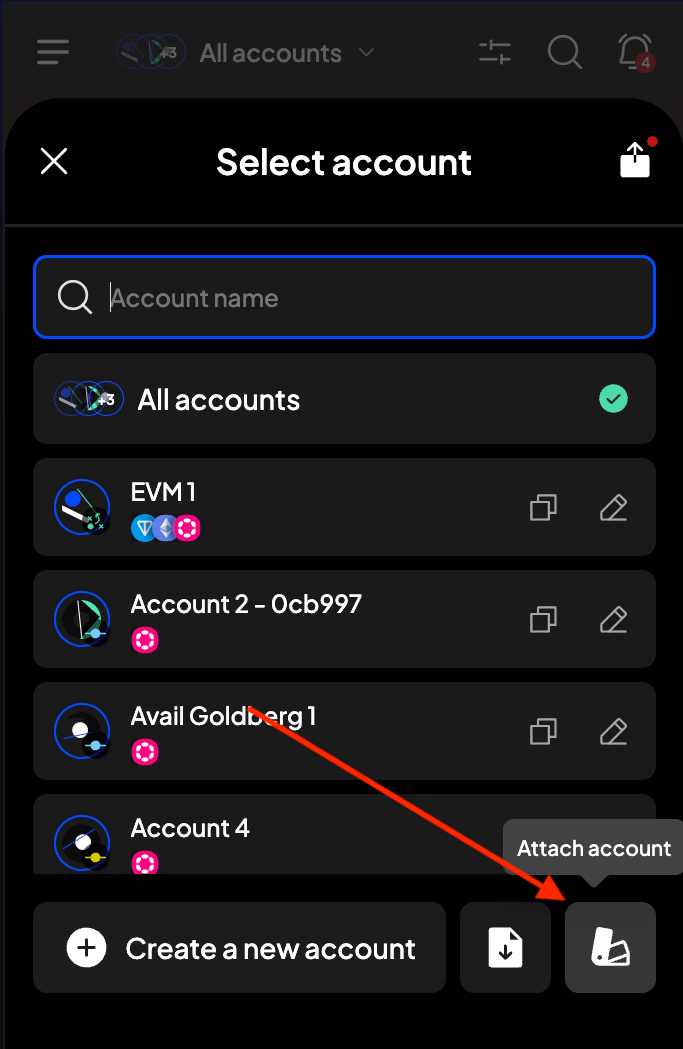
Select the Connect a ledger device option
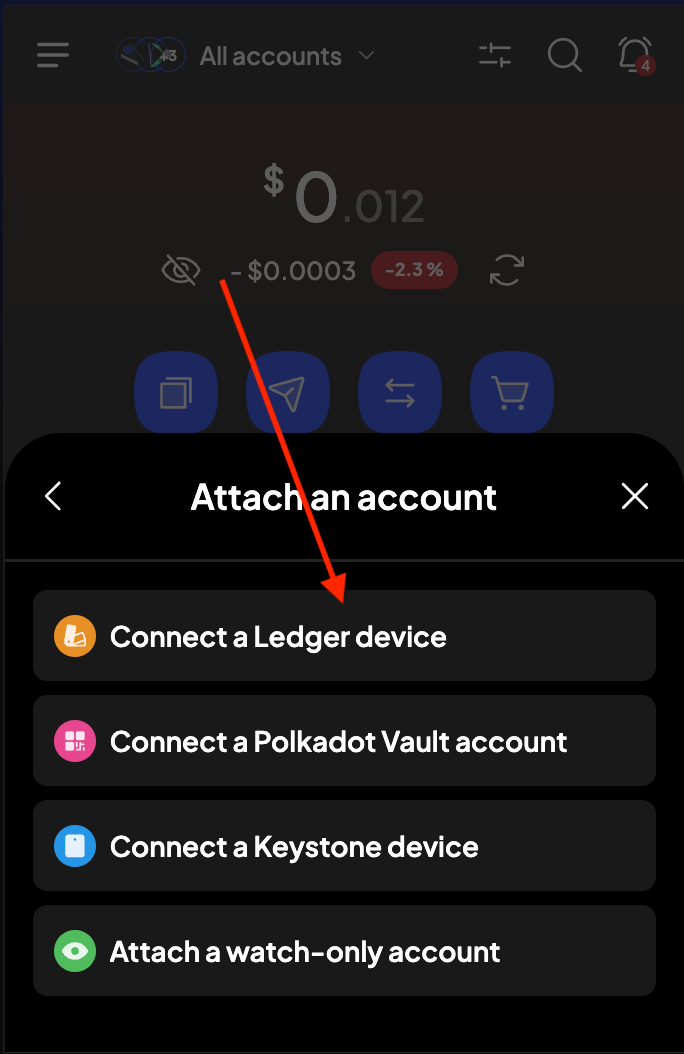
Search for the Avail app and click on Connect
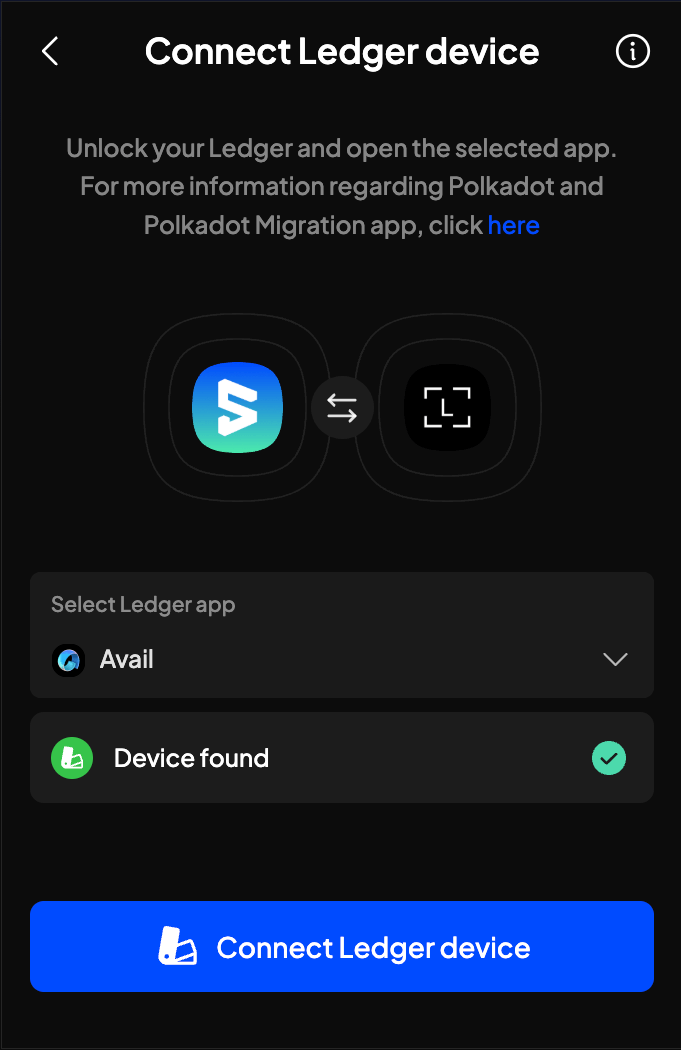
You can now select as many or as few of your ledger accounts to your Subwallet extension wallet
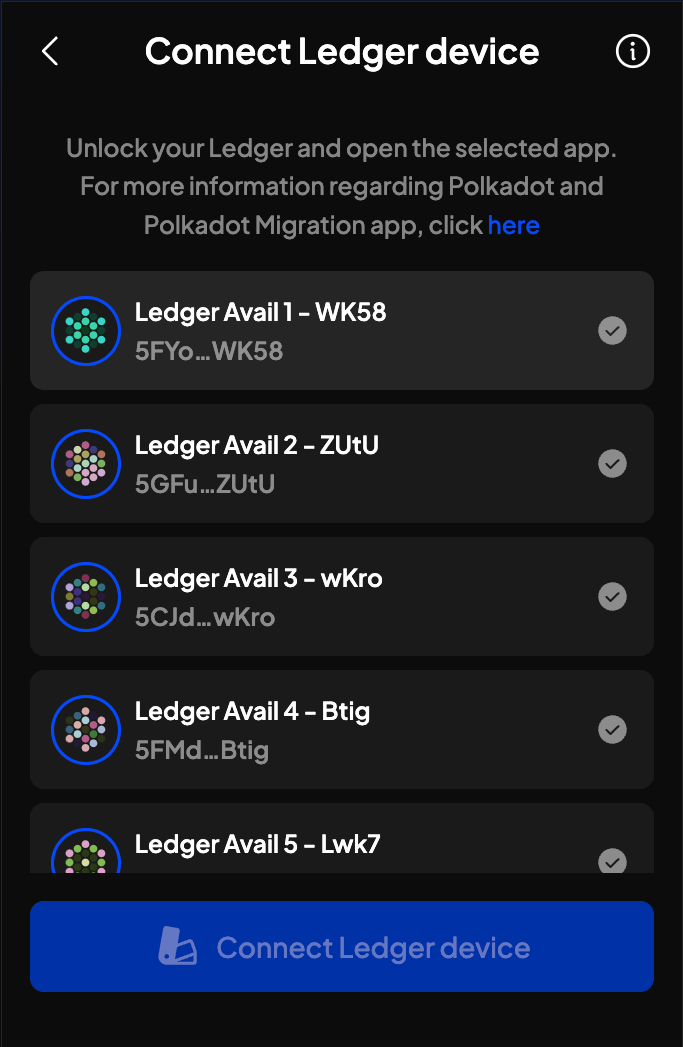
Click on Connect Ledger device to finally import your selected accounts
