Overview
Building with Avail Nexus means you can choose your own path, which is convenient for you.
LOOKING FOR PLUG-n-PLAY REACT COMPONENTS?
Check out our powerful shadcn-based component library, Nexus Elements, built on top of the Nexus SDK.
Nexus SDK (Headless)
A powerful TypeScript SDK for crosschain operations, such as token bridging, crosschain swaps, and unified balance management across multiple EVM chains.
The core functionality of the Nexus SDK is provided by the @avail-project/nexus-core package.
- @avail-project/nexus-core: Headless SDK for cross-chain operations
- No React dependencies required
- Direct Chain Abstraction integration
Install:
pnpm
pnpm add @avail-project/nexus-coreNexus Elements (Plug and Play)
A shadcn-based component library built on top of Nexus that allows devs to integrate working components into their project conveniently.
- Nexus SDK still requires an injected wallet provider (e.g. MetaMask, WalletConnect, etc.)
- It is designed for client-side browser environments and cannot be used in any server-side environments.
Get Started Fast
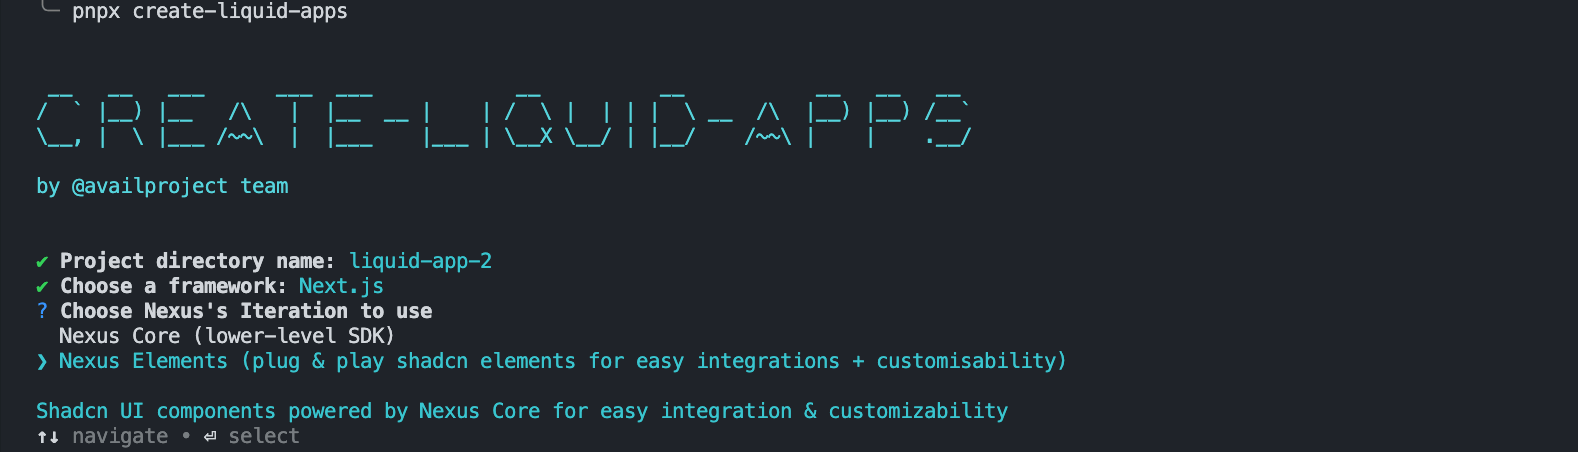
create-liquid-apps Starter Kit
Get set up with a boilerplate starter kit instantly and build faster using either Nexus SDK or Nexus Elements using create-liquid-apps. It helps you scaffold a new application with Nexus SDK using your preferred framework and auth provider.
pnpm
pnpx create-liquid-appsYou will be prompted to choose your preferred framework and auth provider in a UI that looks like this:
Alternatively, you can skip the UI and use the CLI with options:
pnpx create-liquid-apps my-app --framework next --widgets nexus-core --auth wagmi-familyconnectCheck out the package’s NPM page for more details: