Get started with Turbo DA
TURBO DA IS CURRENTLY IN PRIVATE BETA
Access to Turbo DA is currently limited only to whitelisted users.
If your team is interested in using Turbo DA, please reach out to us at business@availproject.org
Introduction
Avail DA today has a block time of 20 seconds, and a finalization time of 2-3 blocks, which is to say about 60 seconds in most cases. While this is more than enough for most use cases, some applications require a faster finality process to power their use cases.
Turbo DA is a solution to this problem. With Turbo DA, you can simply post your data to the Turbo DA API, and the service will give you a lightning-fast pre-confirmation in less than 250 milliseconds. Following this, we will make sure your data is eventually posted to Avail DA, with you not needing to do anything else.
How to get started
- Every account on Turbo DA needs to buy ‘credits’, measured in
KBs/MBsof data which is the amount of data they can submit to Turbo DA. - Turbo DA is a highly versatile service, and allows you to buy credits in exchange for a wide variety of ERC-20 tokens.
- Follow the steps below to get started:
Step 1: Reach out to us (This step is only needed while the service is in private beta)
If your team is interested in using Turbo DA, please reach out to us at business@availproject.org
Step 2: Sign in to the Turbo DA dashboard
Go to the the following dashboard and sign in with your whitelisted account:
| Mainnet | Turing Testnet | |
|---|---|---|
| Frontend | turbo.availproject.org | staging.turbo.availproject.org |
Step 3: Configure your AppID
- We expect developers building on top of Avail DA to have a specific AppID for their application.
- Configure this
AppIDin the dashboard, and this is where your data will eventually be posted.
NOT FAMILIAR WITH APPIDS?
AppIDs are a core concept every developer building on top of Avail DA should be familiar with.
You can go through this page in our docs for the same.
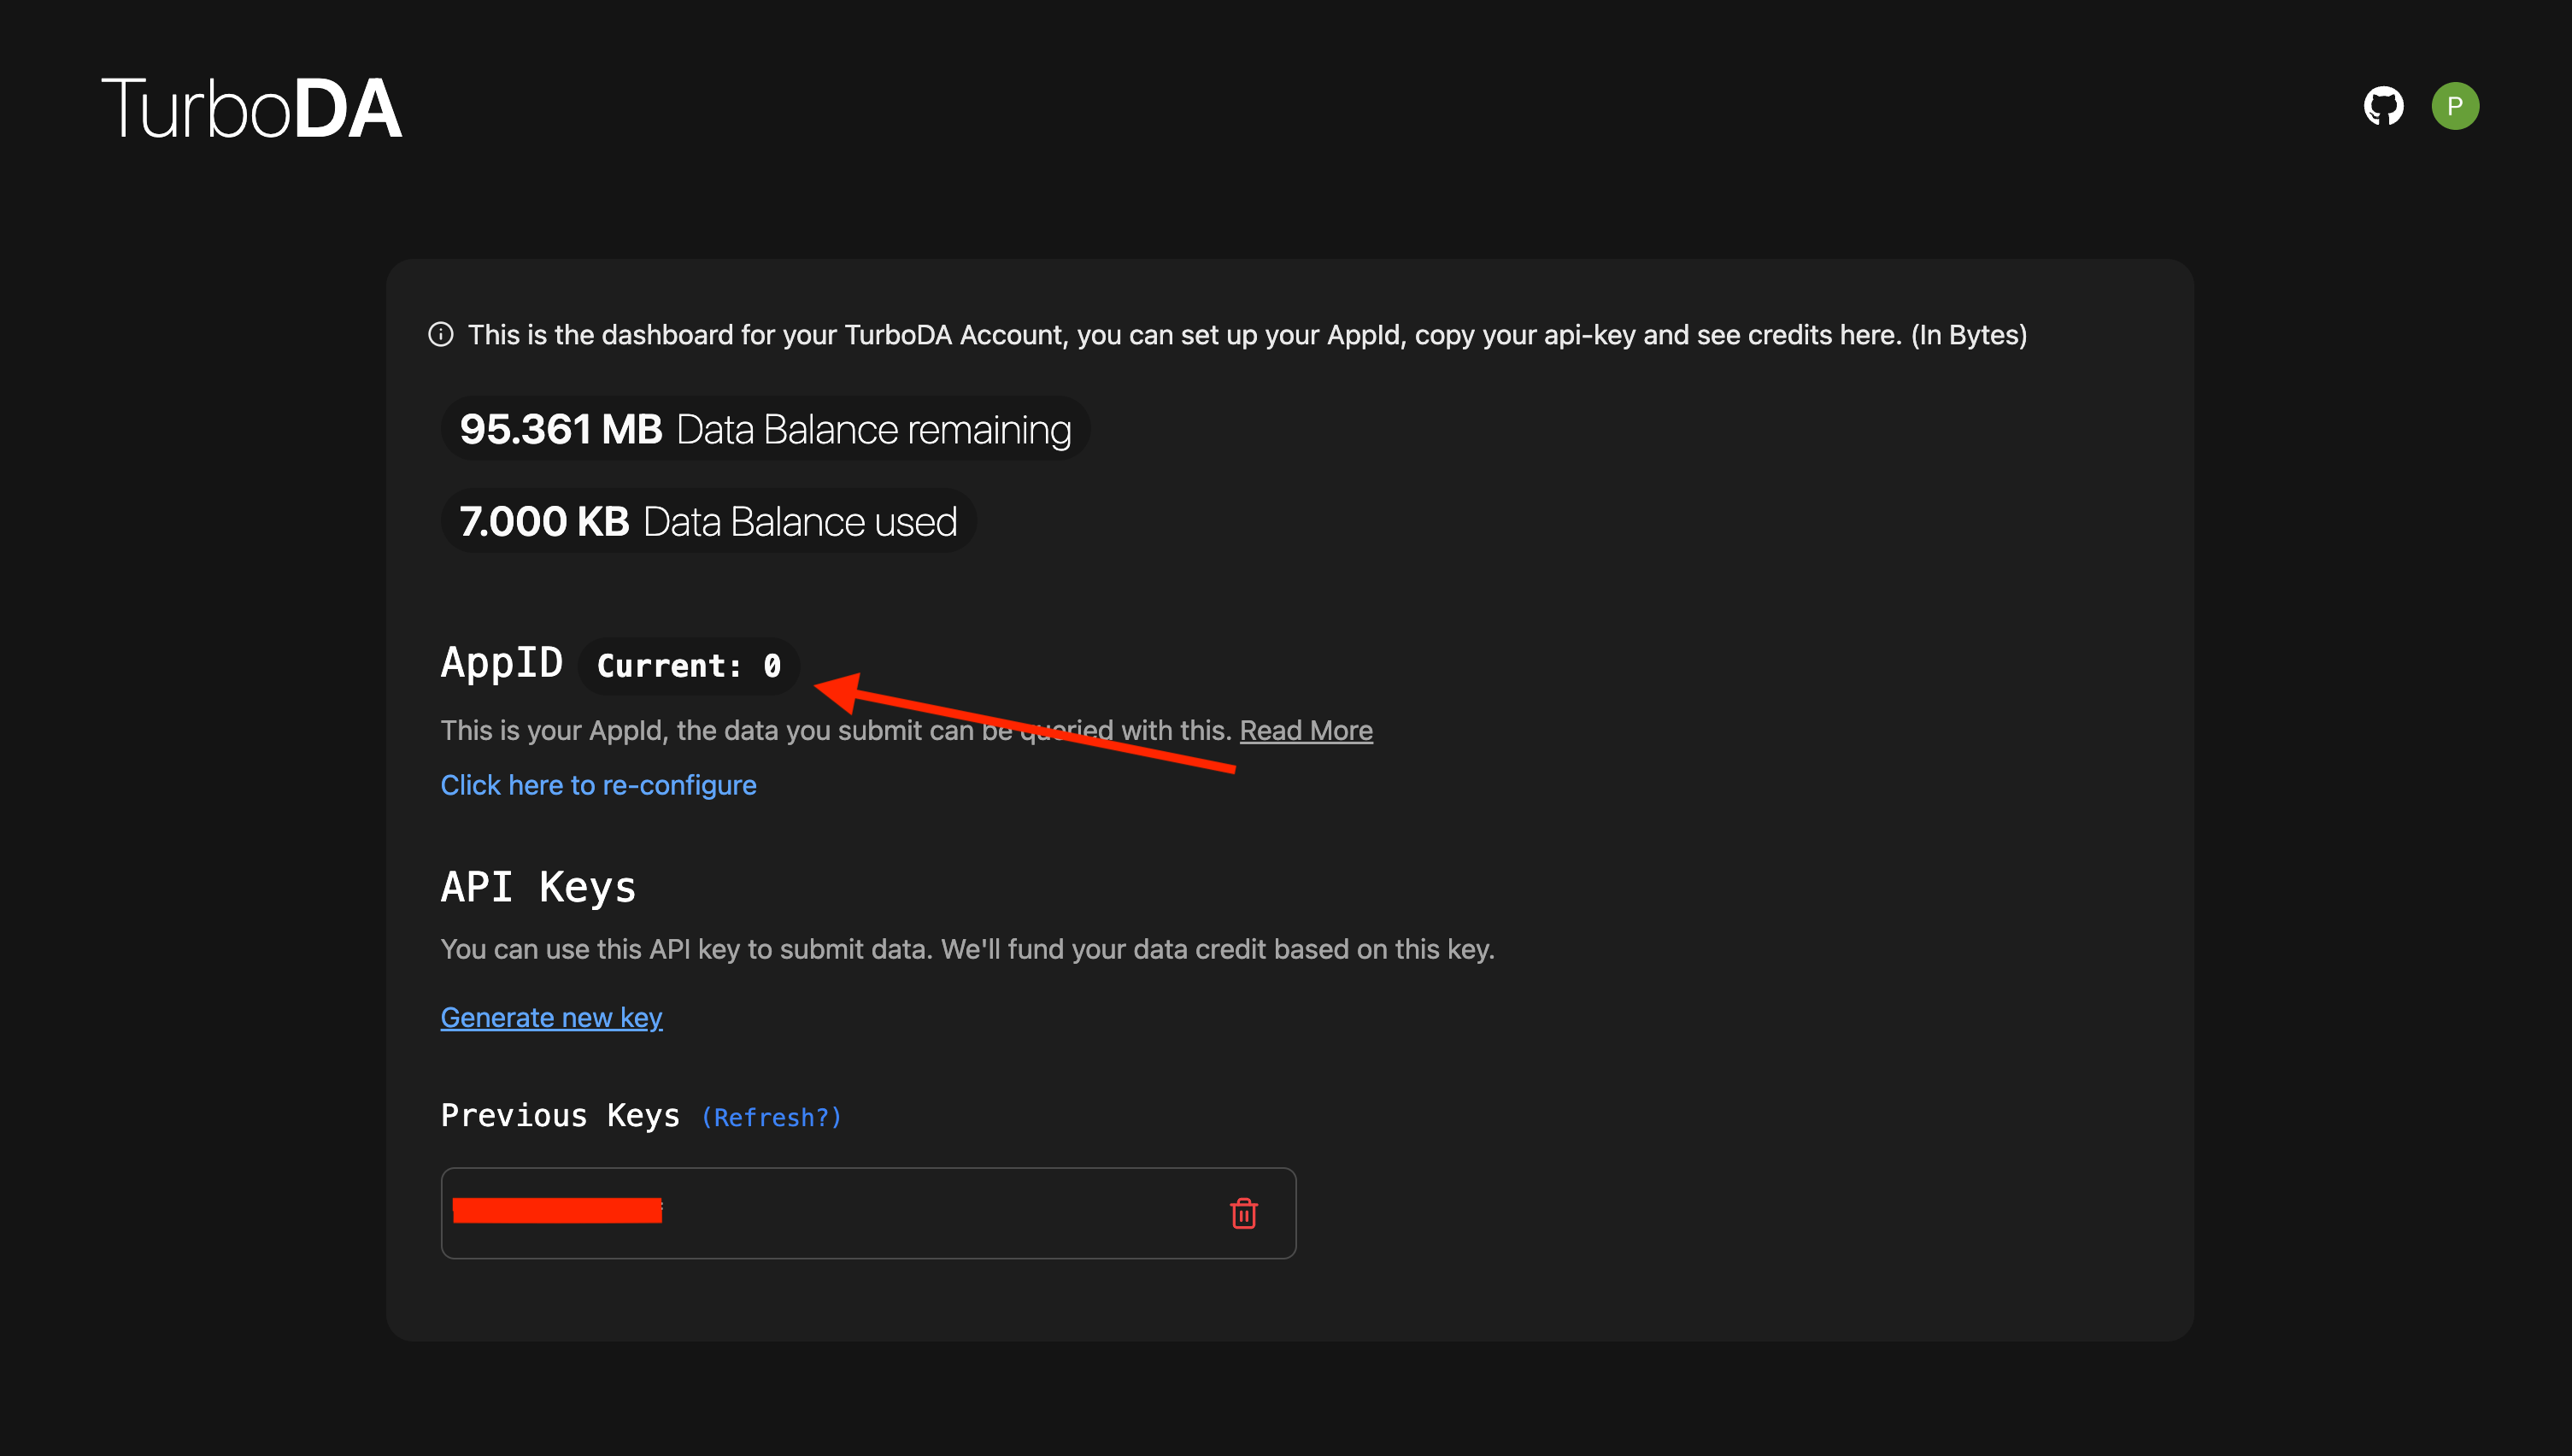
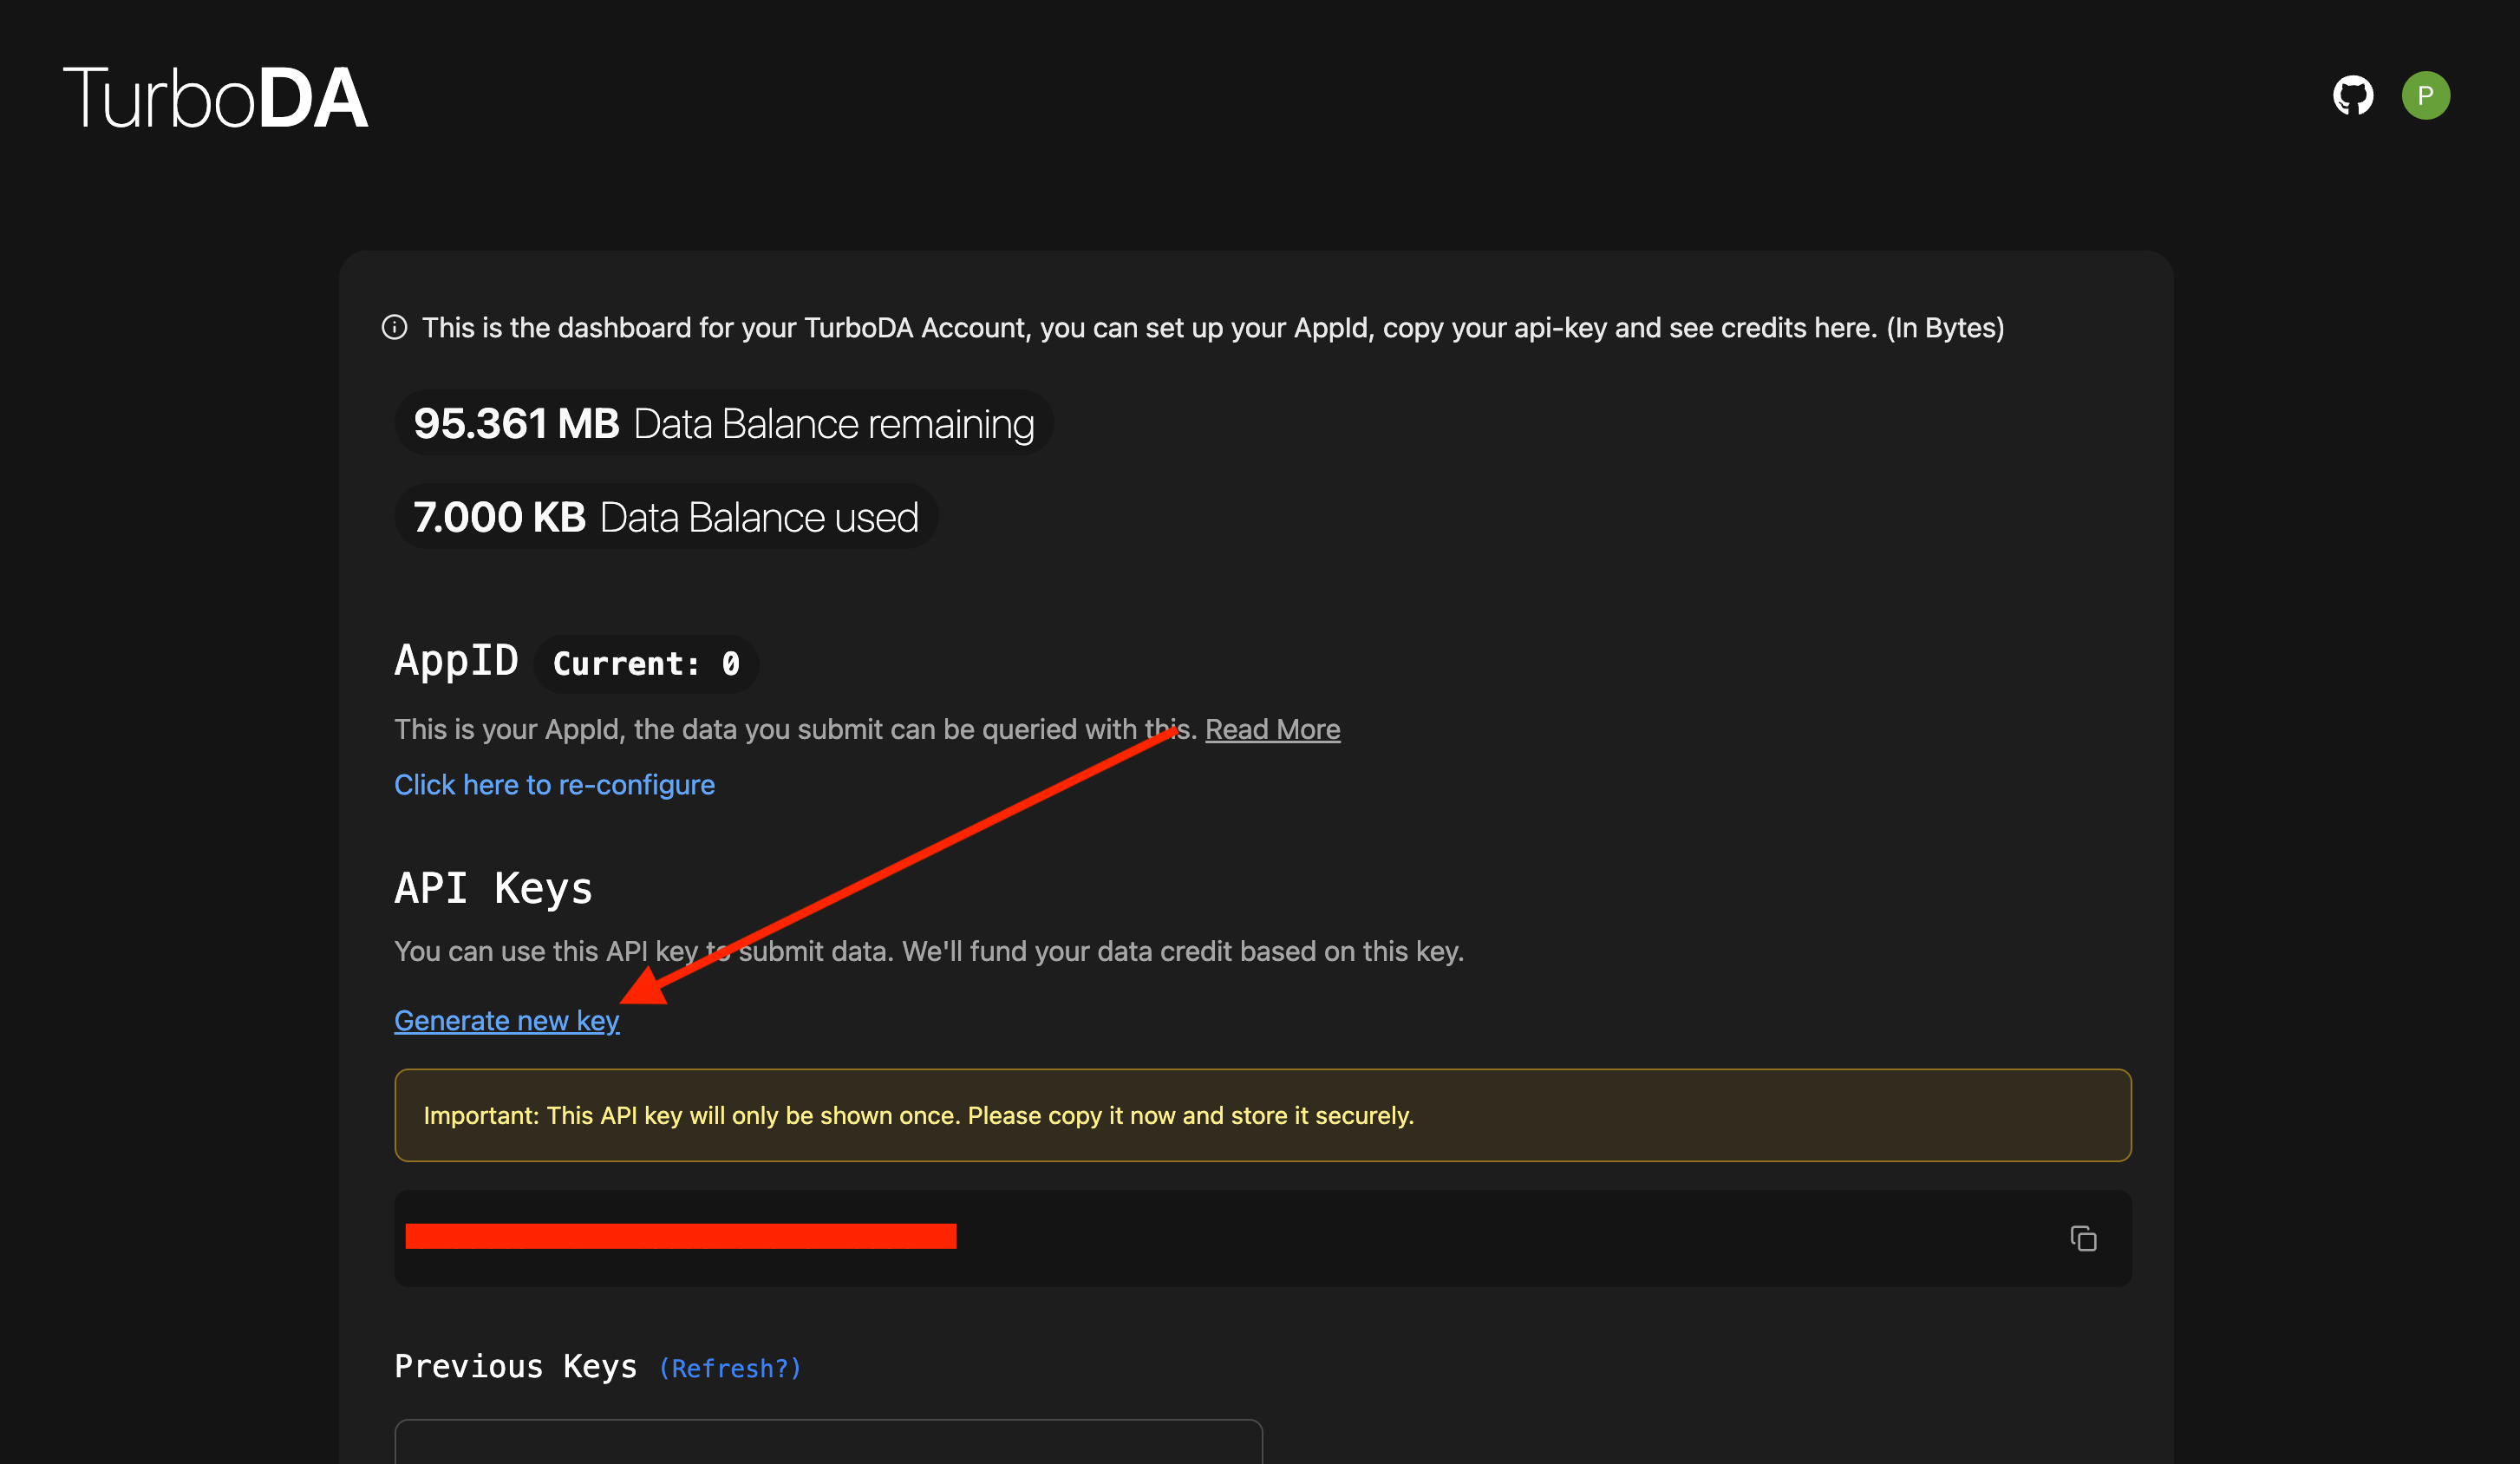
Step 4: Get your API key
Click on the Generate new key button to generate a new API key.
IMPORTANT
- Every API key will only be shown once on the dashboard, so make sure to copy and save it securely.
- You can always delete an existing API key, or generate a new one.
Step 5: Use the API key to submit data
Once you have your API key, feel free to head on over to our API reference to start leveraging the power of Turbo DA.