How to Run the Avail light client
LOOKING FOR THE LIGHT CLIENT API REFERENCE?
Go to light client API reference
- Use Availup to run the light client.
- Download and run a pre-built binary.
- Build your Light client from source
Latest release
You can find the latest release binary in the avail-light repository.
RECOMMENDED VERSION
You can find the latest release of the Avail LC from our Github repo .
We recommend devs to use the Latest release.
Light client modes
The Avail light client has two main modes of operation:
-
Light-client mode: The basic mode of operation and is always active no matter the mode selected. If an
app_idis not provided (or is = 0), this mode will commence. On each header received the client does random sampling using two mechanisms -
App-client mode: If an
app_id > 0is given, the application client (part of the light client) downloads all data specific to that App ID, reconstructs it and persists it locally. This data can then be accessed via a local HTTP endpoint.
WE RECOMMEND LEARNING ABOUT APP IDs on AVAIL DA
App IDs are an important concept in the context of Avail. We recommend you go through this page in our docs to understand how they work before moving forward.
Running the light client
Light-client mode
availup
CONFIG FLAGS
Availup supports many different config flags to support your needs.
Detailed documentation for them can be found in our Github repo .
availup is the recommended way of running the Avail light client for most users.
availup is a shell wrapper that allows you to spin up your own instance of the Avail light client
with a simple curl command.
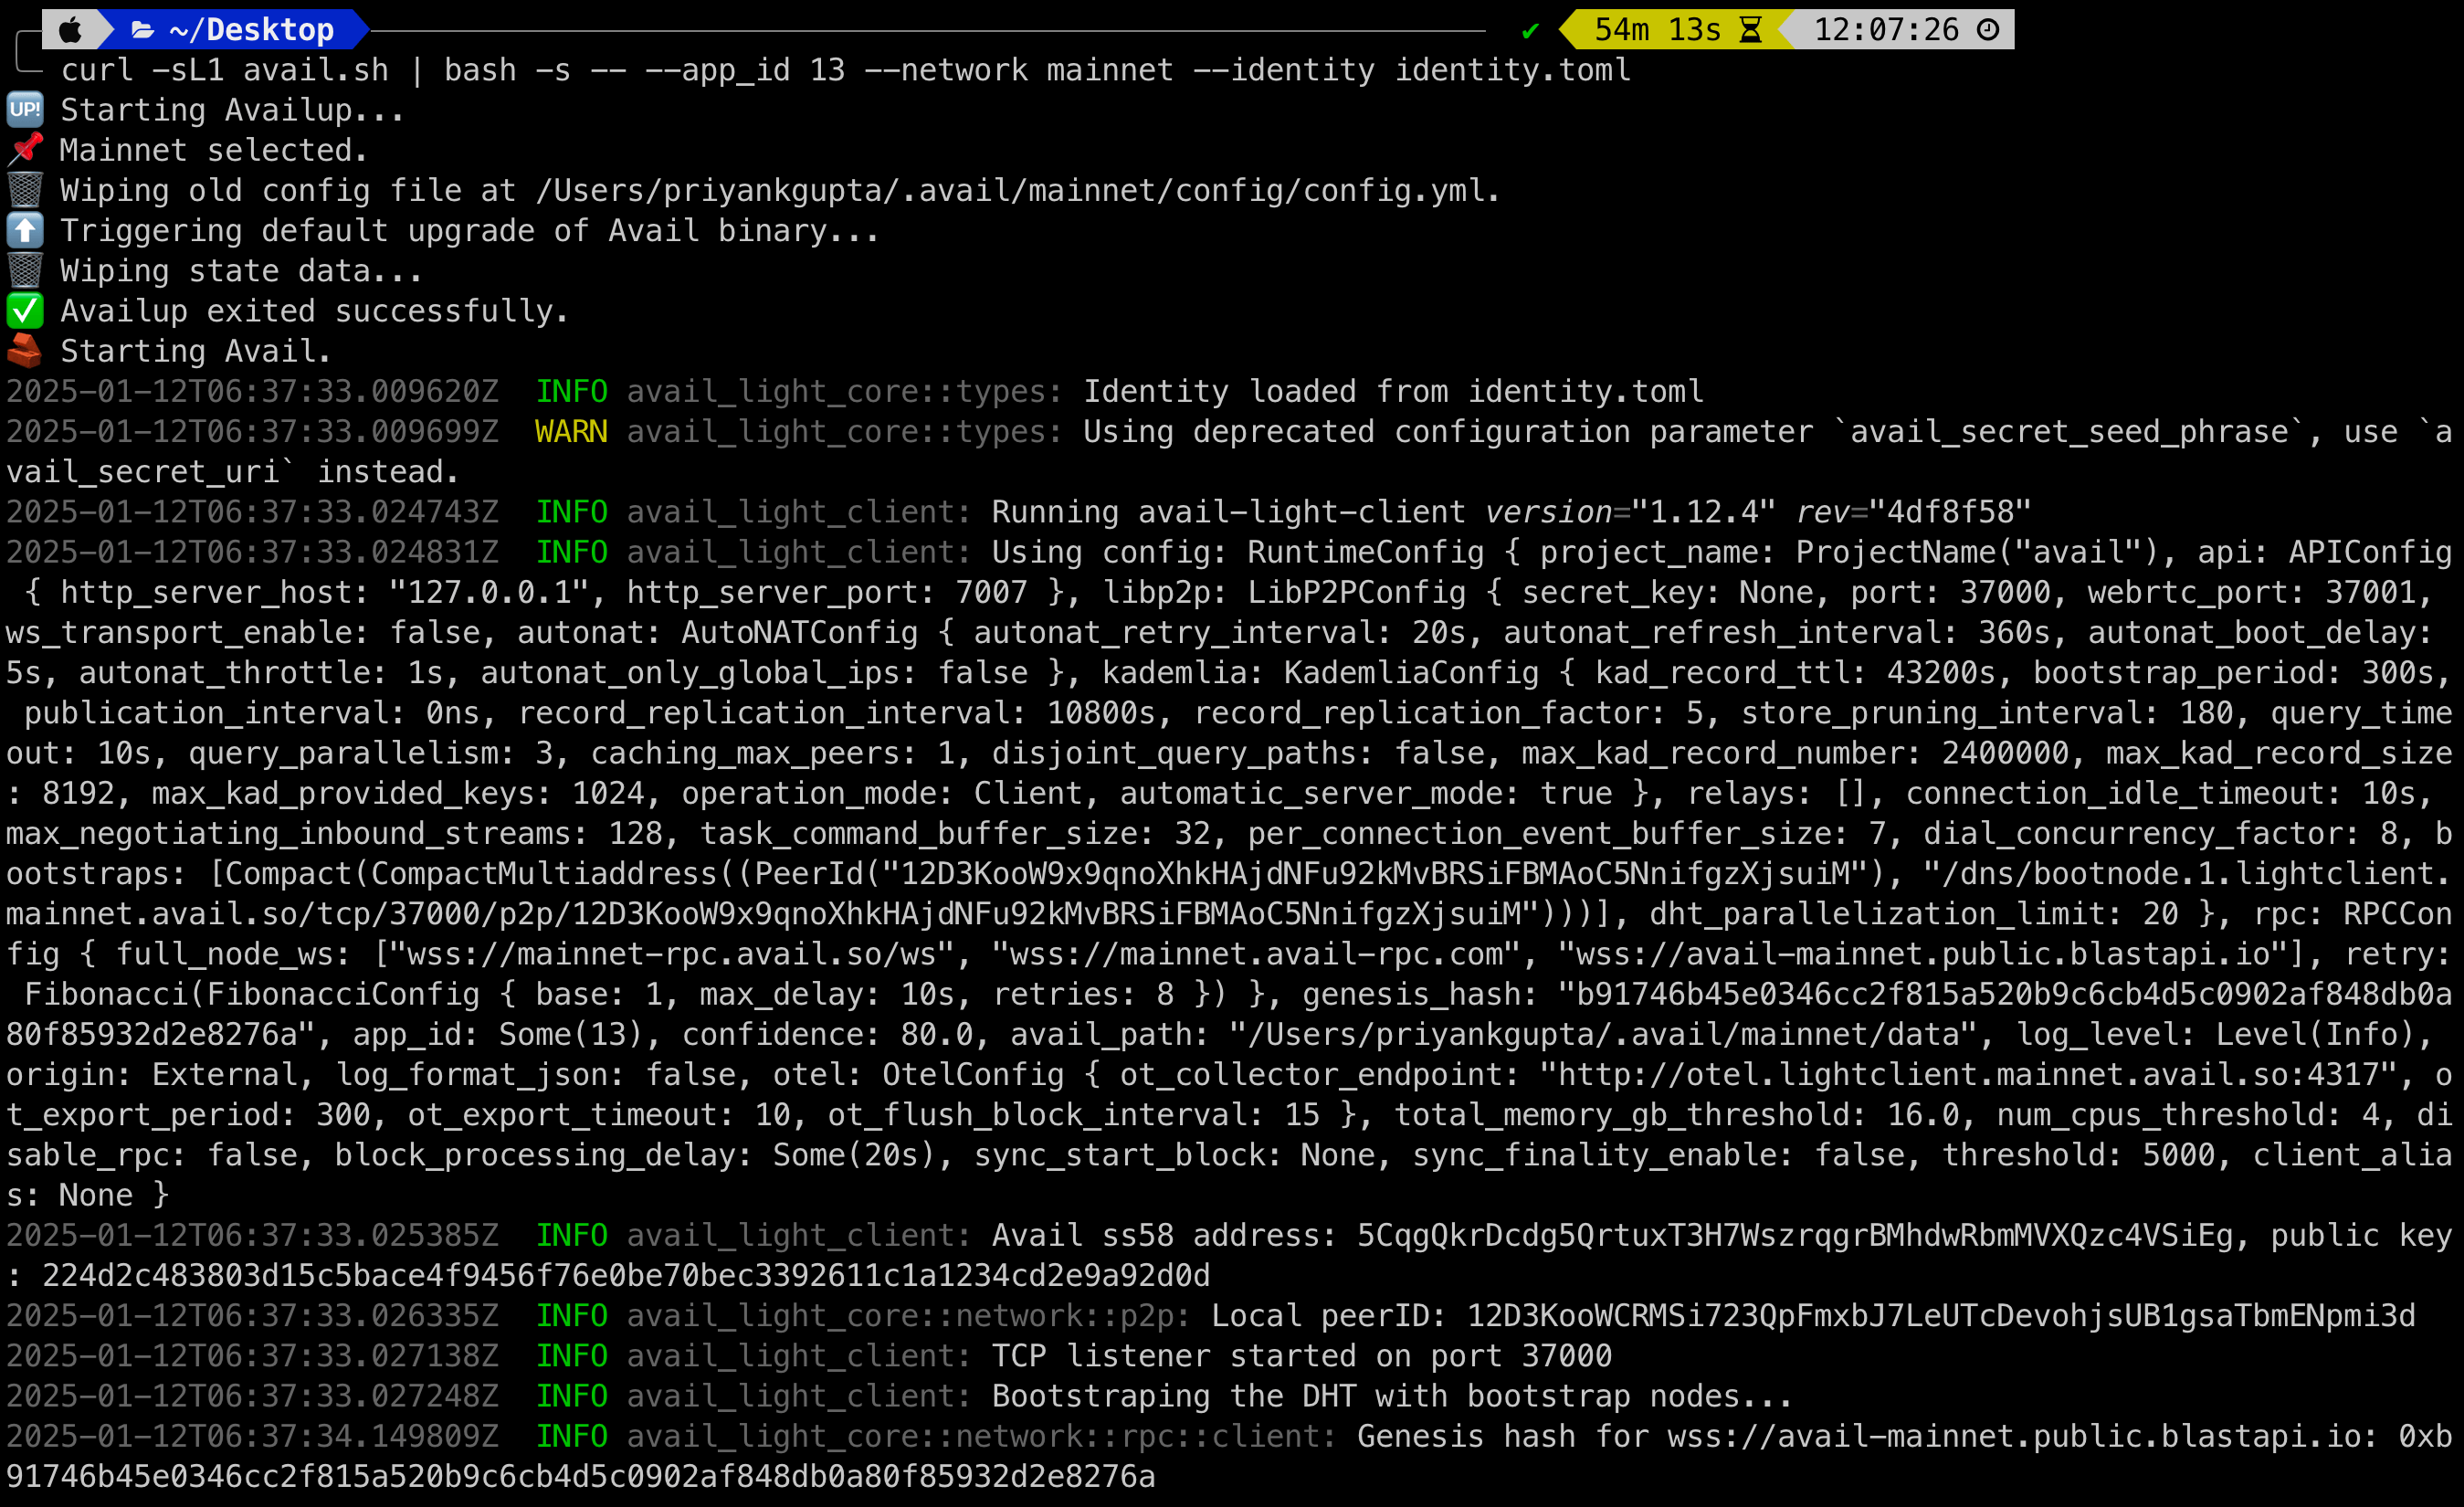
To run the Avail LC using availup, make sure you have curl installed on your system. To check, quickly:
curl --version- To spin up an Avail light client on the Turing testnet, just run this one command in your terminal:
curl -sL1 avail.sh | bash- If everything goes well, the client output will look like this:
Sample output
2024-03-20T10:50:25.528628Z  INFO avail_light::light_client: Processing finalized block block_number=562690 block_delay=20
2024-03-20T10:50:25.528706Z  INFO avail_light::light_client: Random cells generated: 10 block_number=562690 cells_requested=10
2024-03-20T10:50:26.069497Z  INFO avail_light::network: Cells fetched from DHT block_number=562690 cells_total=10 cells_fetched=0 cells_verified=0 fetch_elapsed=540.755792ms proof_verification_elapsed=2.208µs
2024-03-20T10:50:28.322706Z  INFO avail_light::network: Cells fetched from RPC block_number=562690 cells_total=10 cells_fetched=10 cells_verified=10 fetch_elapsed=2.232714917s proof_verification_elapsed=20.404208ms
2024-03-20T10:50:28.322987Z  INFO avail_light::light_client: Confidence factor: 99.90234375 block_number=562690 confidence=99.90234375
2024-03-20T10:50:28.323134Z  INFO avail_light::light_client: Sleeping for 14.61143875s seconds
2024-03-20T10:50:28.323154Z  INFO avail_light::api::v2: Message published to clients topic=ConfidenceAchieved published=0 failed=0
2024-03-20T10:50:28.859369Z  INFO avail_light::network::p2p::event_loop: Cell upload success rate for block 562690: 0/10. Duration: 0
2024-03-20T10:50:41.535425Z  INFO avail_light::network::rpc::subscriptions: New justification at block no.: 562692, hash: 0x3b602253298ce9bec9b5b8f0c8767f14502ccaa17a003dfba77f9d90edeaf5da
2024-03-20T10:50:41.709011Z  INFO avail_light::network::rpc::subscriptions: Header no.: 562692
2024-03-20T10:50:41.709557Z  INFO avail_light::network::rpc::subscriptions: Number of matching signatures: 5/7 for block 562692, set_id 223
2024-03-20T10:50:41.709574Z  INFO avail_light::network::rpc::subscriptions: Storing finality checkpoint at block 562692
2024-03-20T10:50:41.709908Z  INFO avail_light::network::rpc::subscriptions: Sending finalized block 562692
2024-03-20T10:50:41.709966Z  INFO avail_light::api::v2: Message published to clients topic=HeaderVerified published=0 failed=0
2024-03-20T10:50:42.936699Z  INFO avail_light::light_client: Processing finalized block block_number=562691 block_delay=20
2024-03-20T10:50:42.936761Z  INFO avail_light::light_client: Random cells generated: 10 block_number=562691 cells_requested=10
2024-03-20T10:50:43.472932Z  INFO avail_light::network: Cells fetched from DHT block_number=562691 cells_total=10 cells_fetched=0 cells_verified=0 fetch_elapsed=536.136083ms proof_verification_elapsed=3.042µs
2024-03-20T10:50:46.513570Z  INFO avail_light::network: Cells fetched from RPC block_number=562691 cells_total=10 cells_fetched=10 cells_verified=10 fetch_elapsed=3.022786041s proof_verification_elapsed=17.810542ms
2024-03-20T10:50:46.513706Z  INFO avail_light::light_client: Confidence factor: 99.90234375 block_number=562691 confidence=99.90234375
2024-03-20T10:50:46.513785Z  INFO avail_light::light_client: Sleeping for 15.195224667s seconds
2024-03-20T10:50:46.513795Z  INFO avail_light::api::v2: Message published to clients topic=ConfidenceAchieved published=0 failed=0
2024-03-20T10:50:47.056255Z  INFO avail_light::network::p2p::event_loop: Cell upload success rate for block 562691: 0/10. Duration: 0